
Double Sided Tape Die Cutting: Common Problems & Solutions
2026-11-05
Double Sided Tape Die Cutting: Common Problems and Solutions
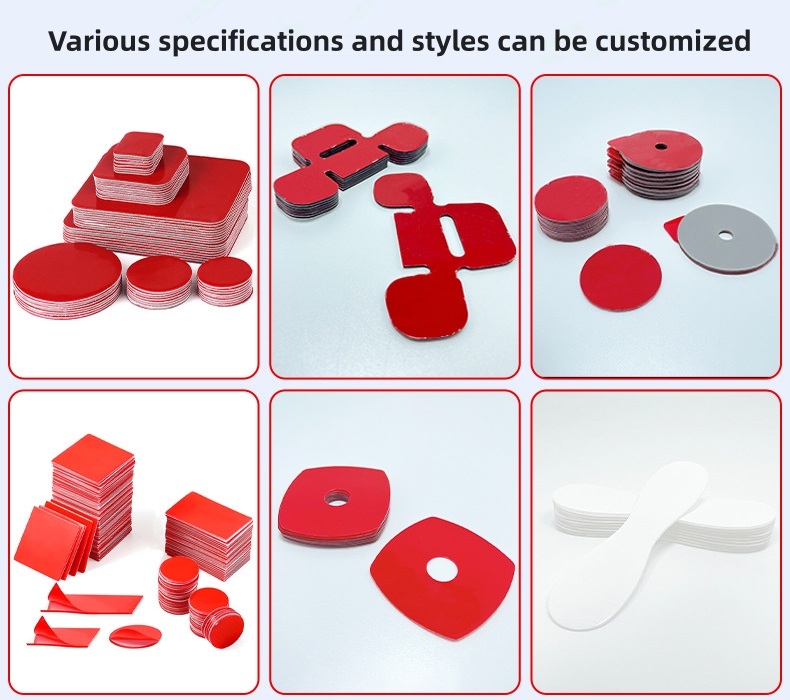
Double-sided adhesive tape is widely used in automotive assembly, electronics, signage, appliances, furniture, and industrial manufacturing. In many of these applications, the tape is not supplied as a standard roll. Instead, it is converted into custom shapes, narrow strips, mounting pads, or precision-cut components.
That is where die cutting comes in.
Although adhesive tape may look simple, converting it into finished parts requires careful control of cutting pressure, tooling, adhesive behavior, release liner properties, and material handling. A small process variation can cause rough edges, adhesive buildup, liner damage, or difficulty removing waste material.
These problems affect more than appearance. They can slow production, increase material waste, and make automated assembly less reliable.
This guide explains the most common double sided tape die cutting problems, why they happen, and how converters can improve processing consistency.
Key Takeaways
♦ Rough or hairy cutting edges can result from incomplete cutting, unsuitable tooling, or excessive material deformation.
♦ Liner cracks may be related to blade condition, cutting pressure, material tension, or existing roll damage.
♦ Adhesive buildup and stringing can interfere with waste removal and finished-part handling.
♦ Incorrect cutting depth can either damage the release liner or leave the adhesive structure incompletely cut.
♦ Material selection matters: foam thickness, adhesive formulation, and liner construction all affect converting behavior.
♦ Regular inspection of incoming rolls, tooling, and finished edges helps identify problems before they affect an entire production batch.
1. Understanding Double-Sided Tape Die Cutting
Double-sided tape generally consists of three main functional layers:
-
Release liner: Protects the exposed adhesive and allows the tape to be handled before application.
-
Pressure-sensitive adhesive: Provides bonding to the intended substrate.
-
Carrier or backing: Supports the adhesive and may consist of foam, film, tissue, or another material.
Some products have adhesive on both sides of a carrier, while transfer tapes have no conventional carrier layer.
During die cutting, a blade or cutting tool creates the required shape while the material remains supported by its liner or another backing layer.
Common converting methods include:
♦ die cutting
♦ Rotary die cutting
♦ Kiss cutting
♦ Through cutting
♦ Slitting and rewinding
♦ Precision die-cutting for custom parts
The appropriate method depends on the tape construction, required shape, production volume, and dimensional tolerances.
For example, a thin film-based double-sided tape behaves differently from a thick foam tape. The foam can compress during cutting, while a thin liner may be more sensitive to excessive blade pressure.
Understanding the material before adjusting the machine is the first step toward consistent production.
2. Common Double-Sided Tape Die Cutting Problems
Problem 1: Rough or Hairy Cutting Edges
A rough edge is one of the most noticeable defects in die-cut adhesive tape.
Instead of producing a clean outline, the cut edge may show small fibers, irregular adhesive fragments, or partially separated material.
Possible causes:
♦ The blade is worn or unsuitable for the material.
♦ Cutting pressure is insufficient or inconsistent.
♦ The cutting profile does not match the tape construction.
♦ The material is being pulled during separation.
♦ The foam or backing is deforming during the cutting process.
Recommended solutions:
♦ Inspect the blade for wear, damage, and contamination.
♦ Select tooling appropriate for the tape thickness and material.
♦ Adjust cutting pressure gradually rather than increasing it excessively.
♦ Check whether the material is fully separated before removing the waste.
♦ Inspect samples from different areas of the roll to identify inconsistent cutting.
Tool geometry also matters. Blade angle, cutting edge condition, and cutting profile can affect how the material separates.
There is no single blade design that works equally well for every adhesive tape. A tool that performs well on thin PET tape may not be ideal for thick PE foam or acrylic foam tape.
Problem 2: Release Liner Cracking During Cutting
A cracked release liner can interrupt production and make finished parts difficult to handle.
In some cases, the liner may split along one edge. In others, small cracks appear intermittently across the roll.
Possible causes:
• Excessive cutting pressure
• A blade that cuts too deeply
• Damaged or unsuitable release liner
• Excessive web tension
• Incorrect material alignment
• Existing cracks or edge damage in the incoming roll
Recommended solutions:
-
Inspect the liner before processing, including both edges.
-
Check the cutting depth and pressure.
-
Review tension settings during unwinding and rewinding.
-
Confirm that the liner construction is suitable for the intended converting process.
-
Test a short section before running the full production order.
A release liner is not simply packaging. It is part of the converting structure and must withstand the mechanical demands of processing.
If the liner is too fragile for the selected cutting method, repeated machine adjustments may not solve the underlying problem. A different liner construction may be necessary.
Problem 3: Adhesive Buildup on the Die-Cutting Blade
Pressure-sensitive adhesive can gradually accumulate on cutting tools.
This may cause:
• Inconsistent cutting quality
• Adhesive transfer onto finished parts
• Irregular edges
• Increased machine cleaning frequency
• Material sticking to the tooling
Possible causes:
• Adhesive residue accumulating during continuous production
• Unsuitable cutting conditions
• Excessive pressure or heat generated during processing
• Adhesive formulation that is difficult to convert under the current process
• Insufficient tooling maintenance
Recommended solutions:
• Inspect the cutting blade regularly.
• Use cleaning methods approved for the specific adhesive and machine components.
• Avoid allowing adhesive deposits to build up over long production runs.
• Review cutting conditions and material compatibility.
• If the problem continues, test alternative adhesive constructions with the supplier.
Do not use an arbitrary solvent to clean a blade or tape surface. Cleaning agents can affect the adhesive, foam, liner, machine coatings, or operator safety. Follow the equipment manufacturer's instructions and the relevant chemical safety documentation.
Problem 4: Incomplete Cutting and Adhesive Stringing
Sometimes the material appears to be cut, but thin adhesive strings remain between the finished part and the surrounding waste.
This can make waste removal difficult and may cause finished parts to lift from the liner.
Possible causes:
• The blade does not cut through the intended layers completely.
• Cutting pressure is inconsistent.
• The adhesive is flowing or deforming during waste removal.
• The material is being processed under unsuitable conditions.
• The cutting and waste-stripping operations are poorly coordinated.
Recommended solutions:
• Check the cut depth across the full working width.
• Inspect the blade condition and cutting surface.
• Adjust cutting conditions using short trial runs.
• Review the timing and angle of waste removal.
• Check whether the adhesive construction is suitable for the selected converting method.
For some highly aggressive pressure-sensitive adhesives, matrix stripping immediately after cutting may help reduce adhesive flow-back or stringing. However, this should be verified for the specific product and production process.
Avery Dennison's technical converting guidance discusses adhesive stringing and matrix-stripping issues in pressure-sensitive materials. Its recommendations are product-specific, but the underlying principle is useful: cutting quality and waste removal should be evaluated together.
Reference: <a href="https://graphics.averydennison.com/content/dam/averydennison/lpm/na/en/doc/home/resource%20center/technical%20marketing%20bulletins/1835%20%20HMR%20%26%20TL2%20Technical%20Overviewv4.pdf" target="_blank" rel="noopener noreferrer">Avery Dennison technical overview on converting pressure-sensitive materials</a>.
Problem 5: Finished Parts Lift from the Release Liner
After die cutting, small adhesive parts may lift, shift, or remain attached to the waste matrix instead of staying in their intended position.
This is particularly troublesome for small labels, narrow strips, and intricate die-cut shapes.
Possible causes:
• Release liner properties are unsuitable for the adhesive.
• The liner has been damaged during cutting.
• Adhesive buildup affects separation.
• The die-cut geometry creates excessive stress during waste removal.
• The stripping angle or speed is unsuitable.
Recommended solutions:
• Confirm that the liner release characteristics match the adhesive.
• Check whether the liner is cut or damaged.
• Review the die-cut shape and spacing.
• Adjust waste-removal speed and direction.
• Evaluate the product using the actual converting equipment.
The liner release force is an important part of the process. A liner that releases too easily may make parts difficult to retain during converting, while one that releases too tightly can make dispensing or application inconvenient.
The appropriate release level depends on whether the finished part is intended for manual application, automated dispensing, or another process.
Problem 6: Inconsistent Die-Cut Dimensions
Some finished parts may be slightly larger, smaller, or less consistent than the drawing specifies.
This can cause assembly problems, especially when the tape must fit into a narrow groove or align with a component edge.
Possible causes:
• Tooling wear
• Material movement during cutting
• Incorrect machine alignment
• Foam compression
• Web tension variation
• Inconsistent material thickness
Recommended solutions:
• Check tooling dimensions and condition.
• Confirm machine alignment and registration.
• Keep material tension consistent.
• Measure samples from different positions across the roll.
• Establish inspection criteria for critical dimensions.
For foam-based materials, remember that compression during cutting can influence the apparent dimensions. The measurement method should be consistent and appropriate for the material.
3. Troubleshooting Table: Match the Defect to the Likely Cause
The following table can be used as a quick reference during production troubleshooting.
| Die-cutting problem | Possible cause | First action to check |
| Rough or hairy edges | Blade wear, incomplete cutting, material deformation | Inspect blade and cutting depth |
| Cracked release liner | Excessive pressure, liner damage, tension variation | Check liner condition and pressure |
| Adhesive buildup | Adhesive transfer and unsuitable processing conditions | Inspect tooling and cleaning procedure |
| Adhesive stringing | Incomplete cutting or adhesive flow during stripping | Review cut depth and waste-removal timing |
| Parts lifting from liner | Incorrect release characteristics or damaged liner | Check liner release and stripping conditions |
| Uneven dimensions | Tooling wear, alignment, material movement | Verify dimensions and machine registration |
| Irregular waste removal | Inconsistent cutting or excessive release force | Check cutting quality and stripping process |
These are troubleshooting starting points, not definitive diagnoses. More than one factor can contribute to the same defect.
A useful investigation records the material batch, machine settings, tooling condition, operator, and the location of the defect.
4. How to Improve Die-Cutting Quality Before Production
Preventive checks are usually more efficient than trying to correct a large batch of defective material.
Inspect incoming tape rolls
Before processing, check:
• Roll edges for damage
• Liner condition
• Visible wrinkles or folds
• Adhesive contamination
• Thickness consistency
• Roll winding and alignment
If the incoming material already has damaged edges or liner cracks, these defects may become more serious during converting.
Select suitable cutting tools
Different tape constructions require different tooling considerations.
For example:
• Thin film-based tape may require precise cutting depth and clean blade edges.
• Foam tape may need controlled pressure to avoid excessive compression.
• Thick or soft foam may require different tooling geometry from thin adhesive films.
• Small die-cut components may need closer attention to waste-removal design.
Do not assume that one die-cutting setup can process every adhesive tape construction equally well.
Control machine pressure and tension
Excessive pressure can damage the release liner, while insufficient pressure may leave the material incompletely cut.
Similarly, inconsistent tension can cause material movement and dimensional variation.
Establish a repeatable setup for each product type. Record the conditions used during successful trial runs so that production operators can reproduce them.
Check tooling cleanliness and maintenance
Adhesive buildup and blade wear can gradually affect cutting quality.
A regular maintenance schedule should include:
• Blade inspection
• Cleaning of adhesive deposits
• Checking cutting surfaces
• Inspection of rollers and guides
• Verification of alignment
The inspection frequency should be based on the material, machine, and production volume.
Run a trial before full production
Before processing a large order, test a representative section.
Check:
• Cut-edge appearance
• Liner integrity
• Part dimensions
• Adhesive contamination
• Waste removal
• Finished-part retention
This helps identify problems before they affect the entire production batch.
5. Does the Type of Double-Sided Tape Affect Die-Cutting Performance?
Yes. The material construction can make a significant difference.
A foam tape, for example, behaves differently from a thin PET film tape or tissue tape during cutting and waste removal.
| Tape construction | Material behavior to consider | Die-cutting considerations |
| Acrylic foam tape | Compressible foam carrier with adhesive on both sides | Control compression, cutting depth, and dimensional accuracy |
| PE foam tape | Flexible foam carrier, often available in different densities | Check foam deformation, liner support, and edge quality |
| PET double-sided tape | Film carrier with relatively stable dimensions | Maintain accurate cutting depth and clean edges |
| Tissue tape | Thin nonwoven carrier with adhesive on both sides | Check tearing, edge cleanliness, and handling |
| Transfer tape | Adhesive layer without a conventional carrier | Pay close attention to liner support, adhesive flow, and waste removal |
Acrylic foam tape for industrial bonding
Acrylic foam tape is commonly considered for mounting applications where a continuous adhesive bond and a conformable foam core are required.
For projects involving industrial panels, components, and mounting applications, GMARK offers <a href="https://www.gmarkfoam.com/acrylic-foam-tape/double-sided-acrylic-foam-tape-for-industrial-bonding-and-mounting" target="_blank" rel="noopener noreferrer">double sided acrylic foam tape</a>.
When converting acrylic foam tape, evaluate the foam thickness, adhesive characteristics, liner construction, and required die-cut geometry together.
PE foam tape for mounting and general assembly
PE foam tape is used for mounting, cushioning, and selected sealing applications. Its flexibility and compressibility make it different from film-based adhesive tapes during die cutting.
For automotive trim, signage, and industrial mounting projects, GMARK offers <a href="https://www.gmarkfoam.com/polyethylene-pe-foam-tape/1mm-black-pe-foam-mounting-tape-for-automotive-trim-and-signage" target="_blank" rel="noopener noreferrer">black PE foam mounting tape</a> with a nominal thickness of 1 mm.
When preparing a die-cut design, consider how the foam compresses under the cutting tool and whether the liner provides sufficient support.
Heavy-duty acrylic foam tape for secure fixing
Some mounting applications require a more demanding bonding specification and carefully designed converted shapes.
GMARK's <a href="https://www.gmarkfoam.com/acrylic-foam-tape/heavy-duty-acrylic-foam-mounting-tape-for-secure-surface-fixing" target="_blank" rel="noopener noreferrer">heavy duty acrylic foam tape</a> can be evaluated for suitable industrial mounting and surface-fixing projects.
The appropriate converting method should be confirmed with sample processing, particularly when the design involves small parts, narrow sections, or complex outlines.
6. Why Release Liner Selection Matters
The release liner is often overlooked when buyers select double-sided adhesive tape. However, it plays an important role in die cutting, handling, storage, and application.
Important liner considerations include:
Release force: Determines how easily the liner separates from the adhesive.
Liner strength: Affects its ability to withstand cutting and waste removal.
Dimensional stability: Helps maintain consistent alignment during processing.
Surface treatment: Influences the release behavior between the liner and adhesive.
Thickness: Can affect machine handling and the cutting process.
A liner that performs well during manual application may not necessarily be the best choice for high-speed converting.
If the tape will be die-cut into small components or processed through automated equipment, discuss the liner requirements with the tape supplier before confirming the order.
7. How to Inspect Die-Cut Adhesive Tape Quality
A finished roll or sheet should be checked beyond its appearance.
A practical quality inspection can include:
• Cut-edge inspection: Look for rough edges, incomplete cuts, and adhesive strings.
• Liner inspection: Check for cracks, cuts, wrinkles, and separation problems.
• Dimensional inspection: Verify width, length, shape, and alignment against the drawing.
• Adhesive inspection: Check for contamination, adhesive transfer, and uneven coating.
• Waste-removal inspection: Confirm that the waste matrix separates without lifting the finished parts.
• Application inspection: Verify that the converted component can be applied using the intended process.
For adhesive performance, standardized tests may also be useful.
ASTM D3330/D3330M-04(2025) is the current listed version of the standard test method for peel adhesion of pressure-sensitive tape. It includes methods for assessing peel adhesion, including double-coated tape and release liner adhesion.
However, peel adhesion alone does not establish whether a die-cut component will work in its final application. Testing should use representative materials and appropriate acceptance criteria.
Reference: <a href="https://store.astm.org/standards/d3330_d3330m" target="_blank" rel="noopener noreferrer">ASTM D3330/D3330M – Standard Test Method for Peel Adhesion of Pressure-Sensitive Tape</a>.
8. Information to Provide When Ordering Die-Cut Double-Sided Tape
If you are sourcing custom die-cut tape, providing a clear specification can help the supplier assess material suitability and production feasibility.
Include the following information:
-
Tape material: Acrylic foam, PE foam, PET, tissue, or another construction.
-
Thickness: Required total tape thickness.
-
Dimensions: Width, length, shape, and dimensional tolerances.
-
Substrate: The surfaces to which the tape will be applied.
-
Adhesive requirements: Initial tack, peel, shear, or other relevant performance needs.
-
Release liner: Preferred liner material and handling requirements.
-
Converting format: Individual pieces, sheets, slit rolls, or roll-to-roll supply.
-
Order quantity: Sample, trial, and expected production volume.
-
Drawing: PDF, DXF, or another suitable technical drawing format.
For complex parts, a drawing or physical sample is often more useful than a text description alone.
The supplier can then evaluate the construction, cutting method, and liner requirements before proceeding with sample production.
Frequently Asked Questions
Why does double-sided tape develop rough edges during die cutting?
Rough edges may result from worn tooling, unsuitable blade geometry, incomplete cutting, or material deformation. Inspect the blade and cutting depth first, then review the tape construction and processing conditions.
Why does the release liner crack during die cutting?
Possible causes include excessive cutting pressure, unsuitable liner strength, tension variation, or damage to the incoming roll. Check the liner before processing and verify that the cutting depth does not damage it.
How can adhesive stringing be reduced?
Check whether the tape is fully cut, inspect the tooling, and review the waste-removal process. Some adhesive constructions may require closer coordination between cutting and matrix stripping.
Can all double-sided foam tapes be die-cut?
Many double-sided foam tapes can be converted into custom shapes, but the appropriate process depends on foam thickness, density, adhesive properties, liner construction, and part geometry. A trial run is recommended for new designs.
What is the difference between kiss cutting and through cutting?
Kiss cutting is designed to cut the tape layers while leaving the supporting liner intact. Through cutting separates the material through the full construction. The appropriate method depends on how the finished parts will be supplied and applied.
What information is needed for a custom die-cut tape quotation?
Provide the tape construction, thickness, dimensions, drawing, substrate, adhesive requirements, liner preference, order quantity, and intended application process.
Final Thoughts
Good die-cutting results depend on more than the cutting machine itself. The tape construction, blade condition, cutting pressure, liner strength, material tension, and waste-removal process all work together.
When a defect appears, identify where it occurs and inspect the relevant layers before changing machine settings. A rough edge, cracked liner, and adhesive stringing may look like similar production problems, but their causes can be quite different.
For converters and industrial buyers, choosing a tape that suits both the final application and the converting process is a practical way to improve production consistency.
GMARK supplies acrylic foam tape, PE foam tape, and other adhesive tape constructions for industrial bonding and mounting applications. If you are developing a custom die-cut part, share the material requirements, dimensions, and drawing so that a suitable product can be evaluated.
For more information, please feel free to contact us:
Email: [email protected]
Phone: +86 18237680349
WeChat WhatsApp


RELATED NEWS
-
Choose from different foam tape prices and applications
Foam tape prices vary with material, thickness, adhesive, dimensions, and order quantity. Compare common foam types and learn how to select a cost-effective solution.
-
Automotive Foam Tape Applications: Reliable Bonding Solutions for Vehicle Interior and Exterior Assembly
Choosing automotive foam tape involves more than adhesive strength. Explore substrate compatibility, thickness selection, bond failure prevention, and practical guidelines for reliable vehicle assembly.
-
Polyethylene Foam Tape: It’s Everywhere!
Polyethylene foam tape is widely used for mounting, sealing, cushioning, gap filling, and vibration control. Learn how PE foam tape works and how to choose the right type for different applications.
-

How Long Does Acrylic Foam Tape Take to Cure and Reach Full Strength?
Dongguan Gmark New Material Technology Co., Ltd. explains the bonding process and key factors that affect the performance of acrylic foam tape.
-
Why Is Acrylic Foam Tape Better Than Regular Double-Sided Tape?
In modern manufacturing, construction, automotive assembly, and signage applications, choosing the right adhesive tape can significantly affect product performance and durability.
-
What Is the Difference Between PE Foam Tape and Acrylic Foam Tape?
In industrial bonding and mounting applications, both PE foam tape and acrylic foam tape are widely used to join, mount, cushion, and seal different materials.
-
Does PE Foam Tape Provide Soundproofing and Thermal Insulation?
PE foam tape is widely used for bonding, mounting, cushioning, sealing, and gap filling in automotive, electronics, appliances, construction, and industrial applications.
-
Polyethylene (PE) Foam Tape Supports Growing Demand for Reliable Industrial Bonding Solutions
As manufacturers and distributors continue to seek lightweight, flexible, and reliable bonding materials, Polyethylene (PE) Foam Tape is becoming an increasingly practical solution for a wide range of industrial and commercial applications.
-
Acrylic vs PE vs EVA vs PU Foam Tape: Which Should You Choose?
A complete comparison of acrylic, PE, EVA, and PU foam tapes, including structure, performance, applications, and selection tips for industrial buyers.
-

What is PE Foam Tape?
PE foam tape combines a flexible polyethylene foam carrier with pressure-sensitive adhesive to provide bonding, cushioning, gap filling, and vibration control.
-
PET Double-Sided Tape: Structure, Performance and Industrial Uses
PET double-sided tape combines a stable PET film carrier with pressure-sensitive adhesive layers, making it suitable for applications that require controlled thickness, clean bonding and good dimensional stability.
-
How to Choose Acrylic Foam Tape for Demanding Industrial Applications?
Acrylic foam tape offers strong bonding and stress absorption. Learn which performance factors matter when selecting tape for industrial assembly.
-
Acrylic Foam Tape: Reliable Bonding Solution for Electronics and Automotive Applications
Discover how acrylic foam tape improves electronic and automotive assembly with strong adhesion, weather resistance, vibration absorption, and durable bonding performance.
-
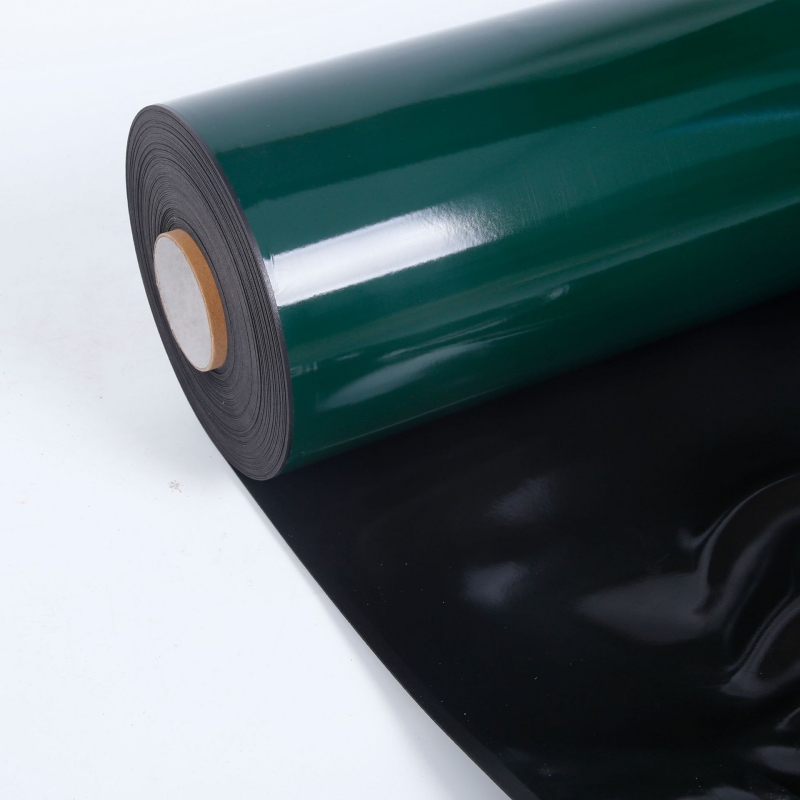
PE Foam Tape for Industrial Sealing, Cushioning and Assembly
PE foam tape combines flexible bonding, cushioning and sealing performance for automotive, electronics, construction and industrial assembly applications.
-
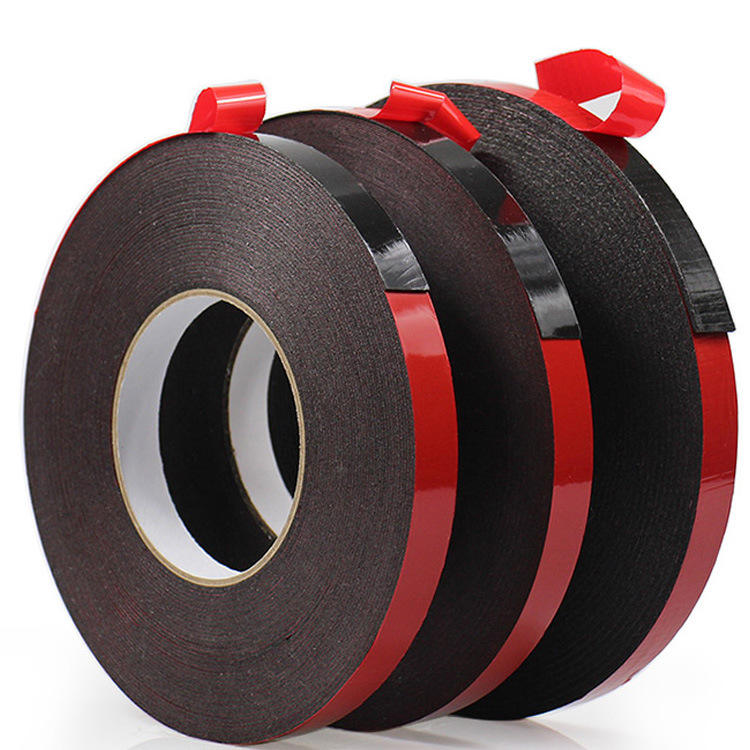
Automotive Bonding Solutions: Choosing the Right Foam Tape for Modern Vehicle Assembly
As automotive manufacturing continues to evolve, advanced foam adhesive tapes are helping manufacturers improve assembly efficiency, reduce vehicle weight, and achieve reliable bonding for interior and exterior components. This article explores how PE foam tape and acrylic foam tape support modern automotive applications.
-
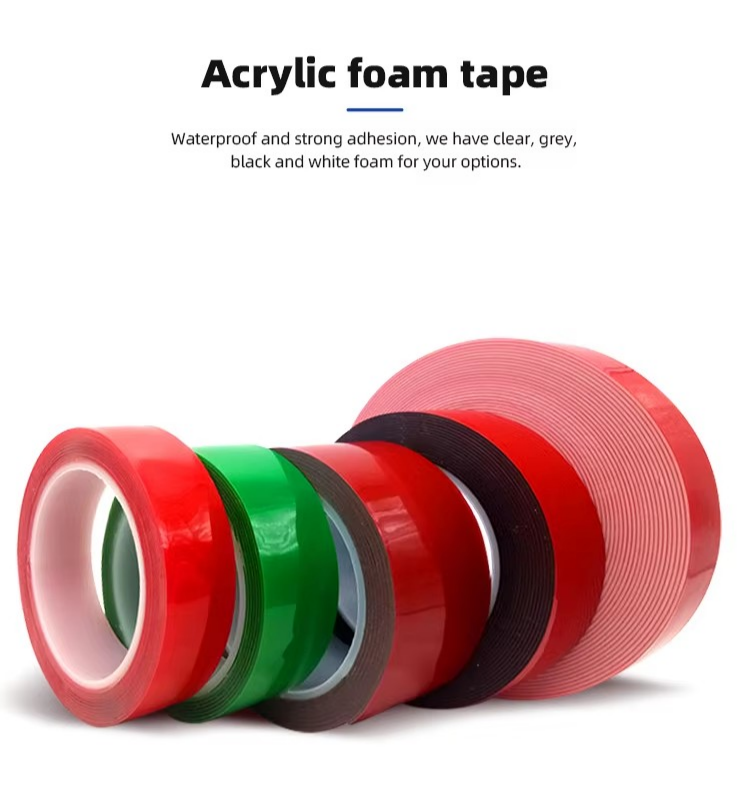
Why Acrylic Foam Tape Is Becoming a Preferred Solution for Industrial Bonding
Acrylic foam tape provides strong bonding, sealing, and stress absorption for automotive, electronics, and industrial applications, replacing traditional fastening methods.
-
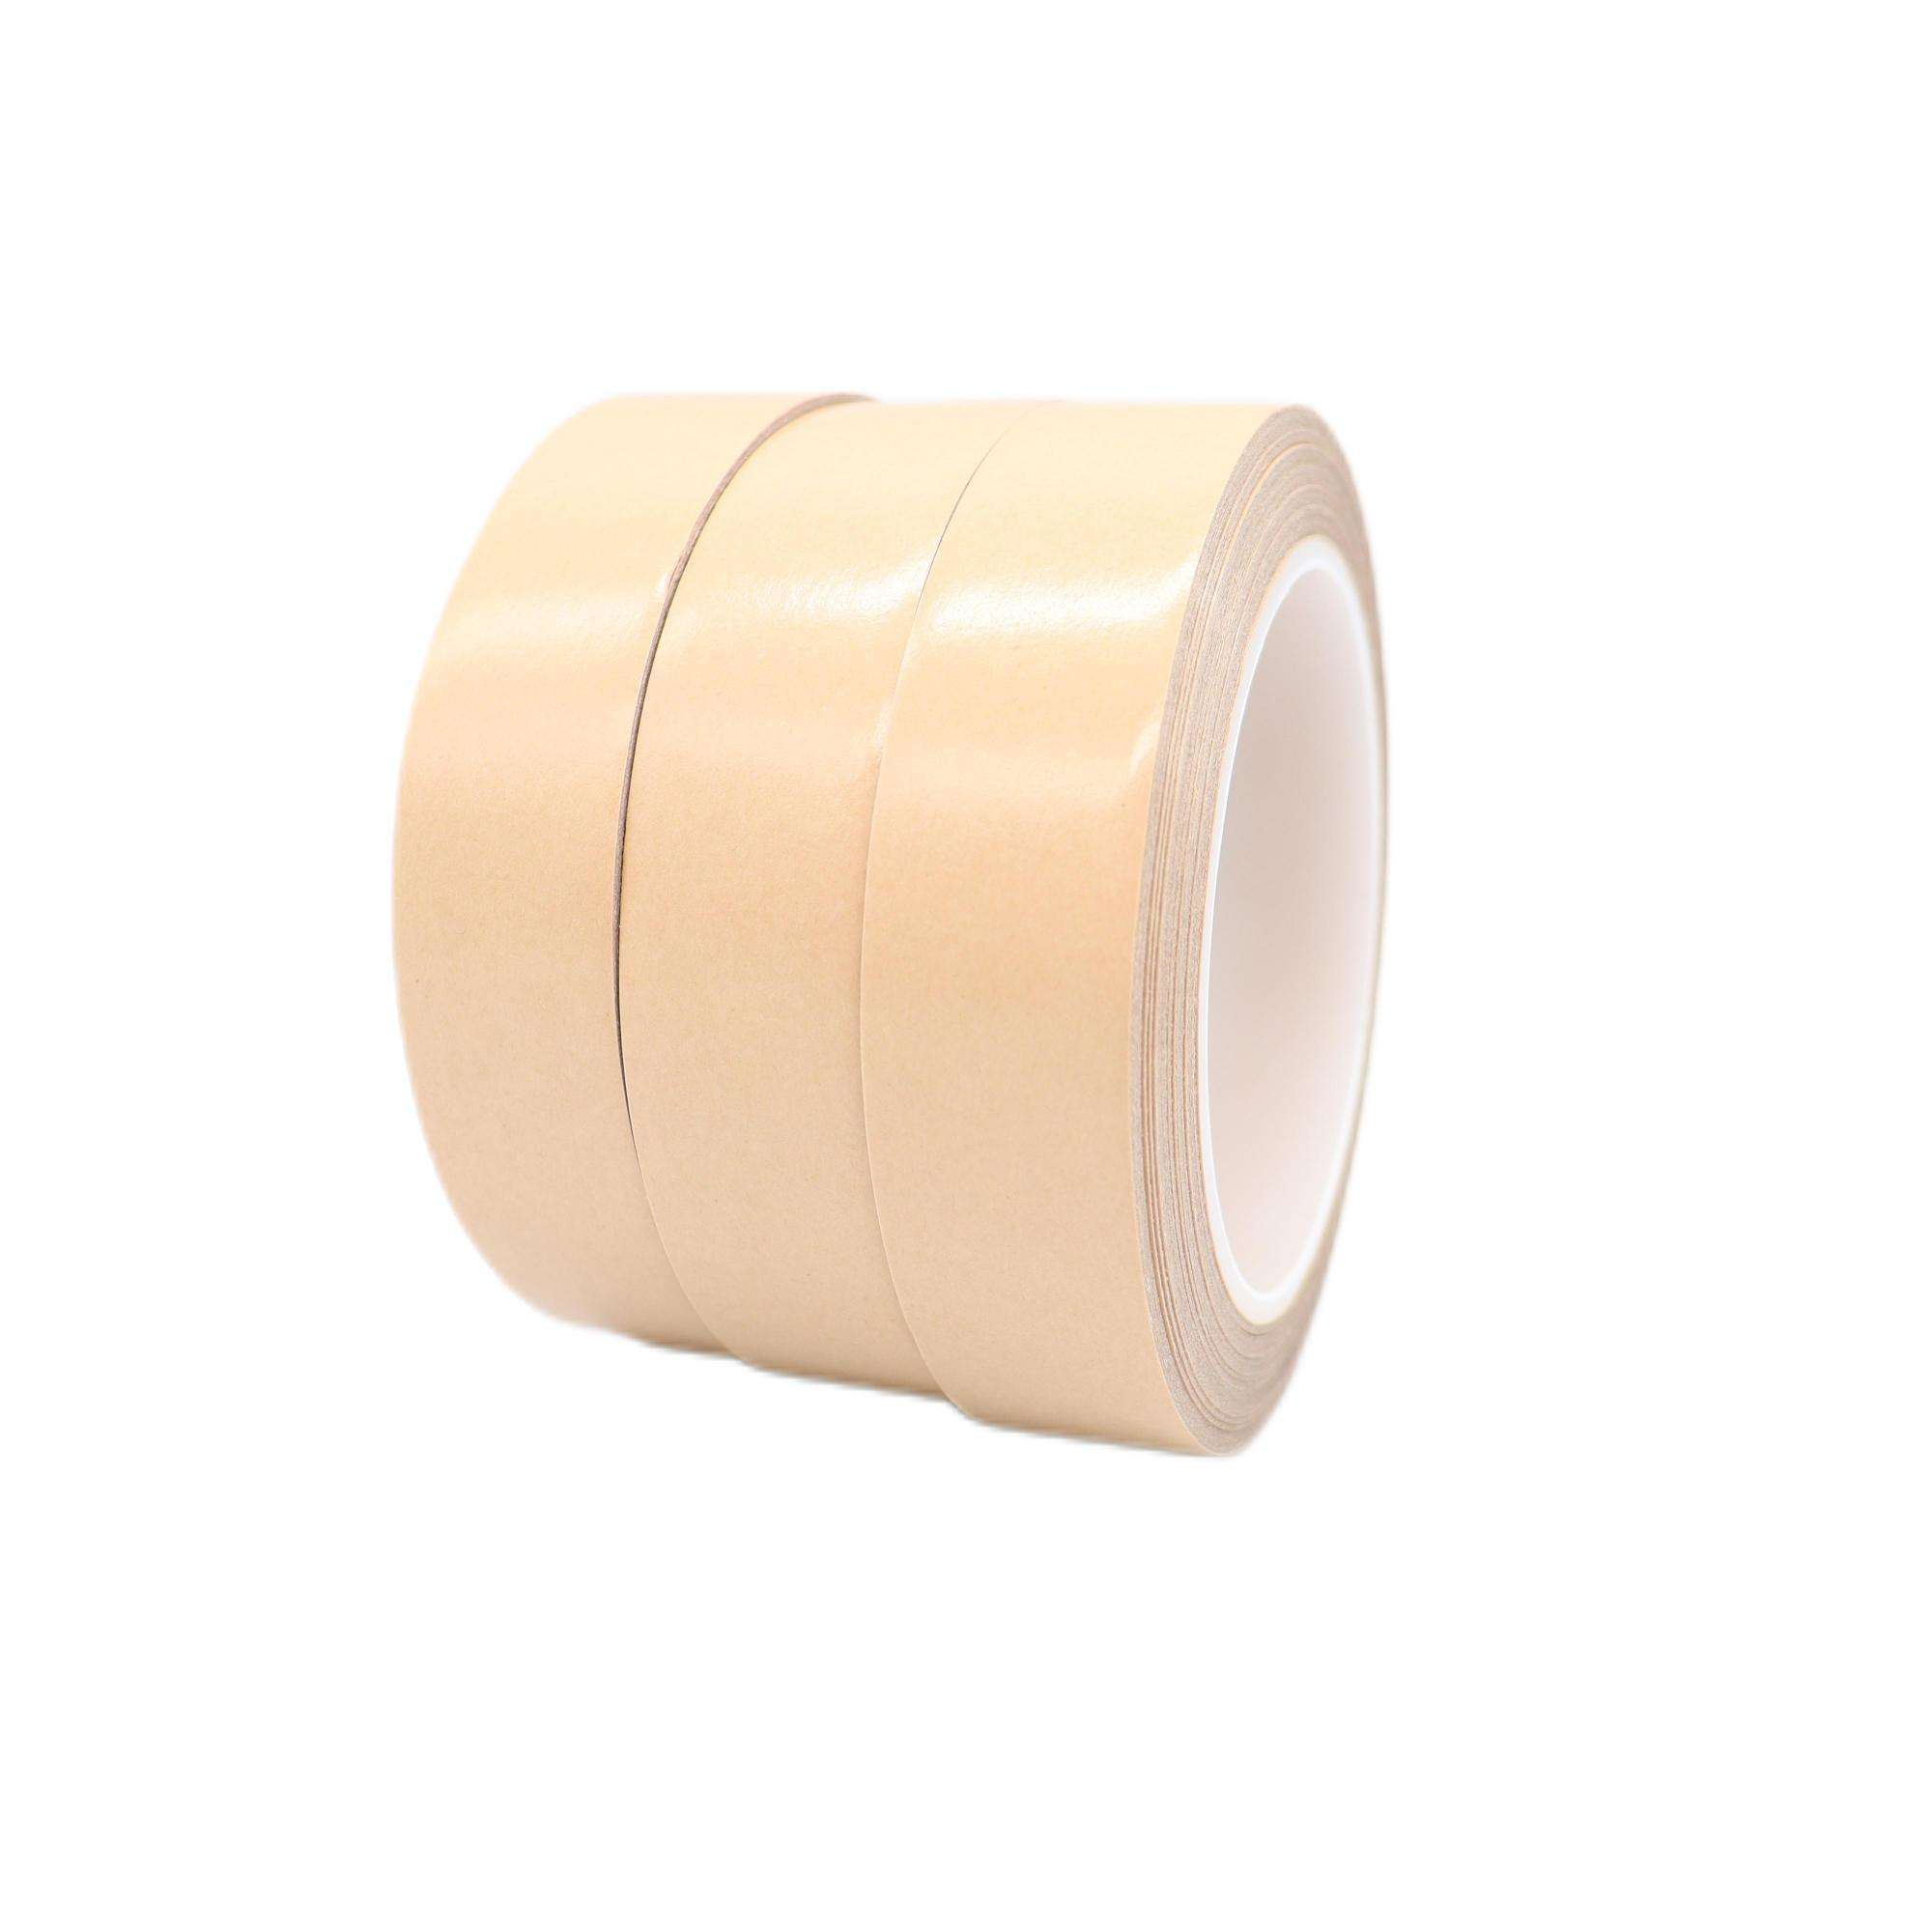
Why Thin Doesn't Mean Weak: Understanding Transfer Tape Performance
Double Sided Transfer tape combines an ultra-thin adhesive layer with high bonding strength, making it an ideal solution for precision electronics, LED assembly, and industrial bonding applications where space and reliability are equally important.
-
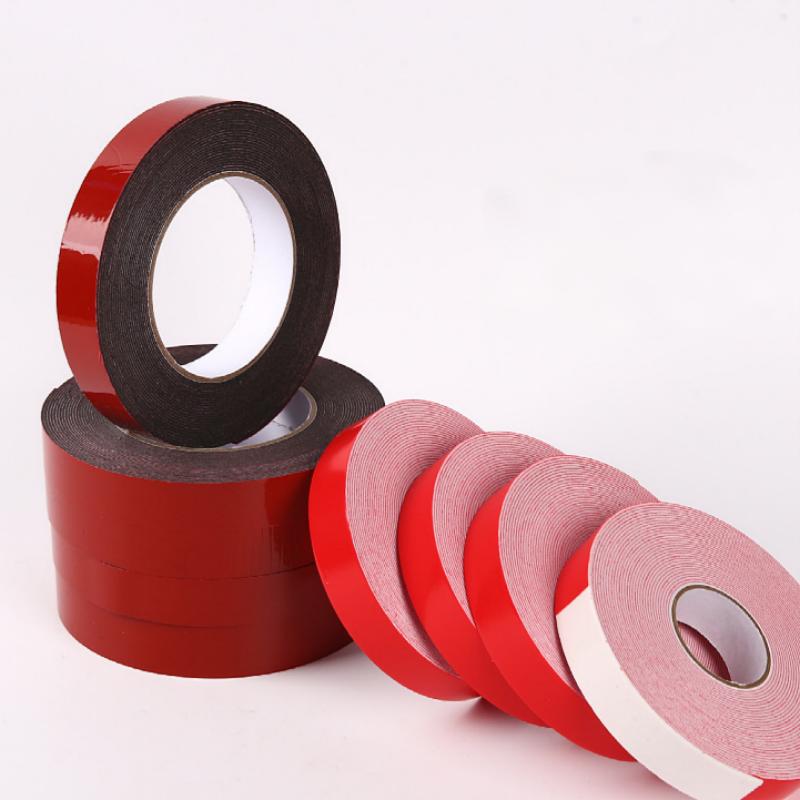
PE Foam Tape Enhances Industrial Bonding and Sealing Performance
PE foam tape provides reliable bonding, sealing, and cushioning performance for automotive, electronics, furniture, and industrial applications.
-
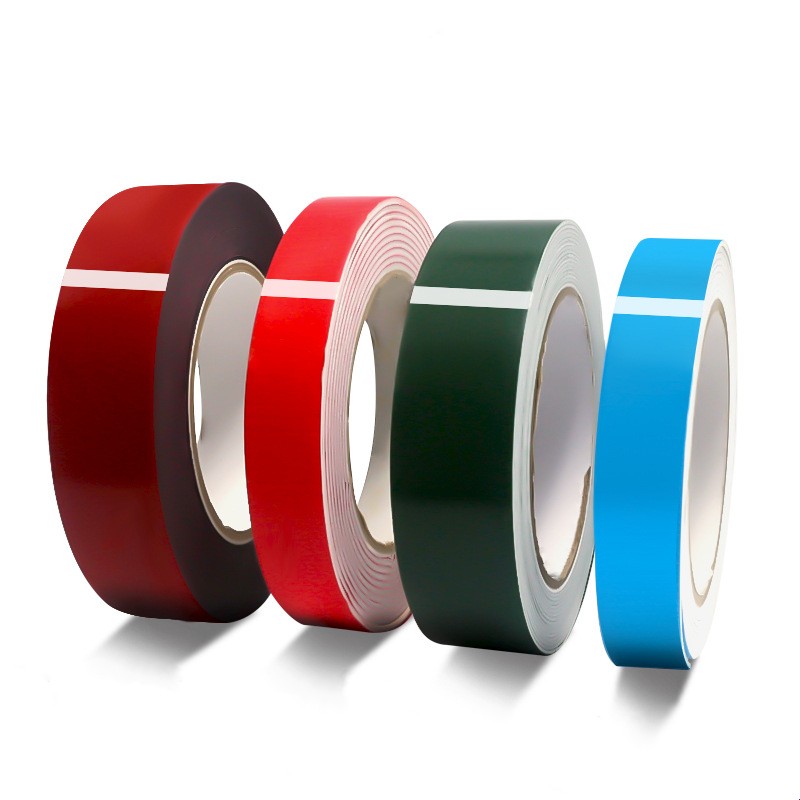
What is PE Foam Tape? Benefits, Uses and Applications
Learn what PE foam tape is, its key benefits, applications, and why it is widely used for automotive, industrial, and mounting solutions.
-
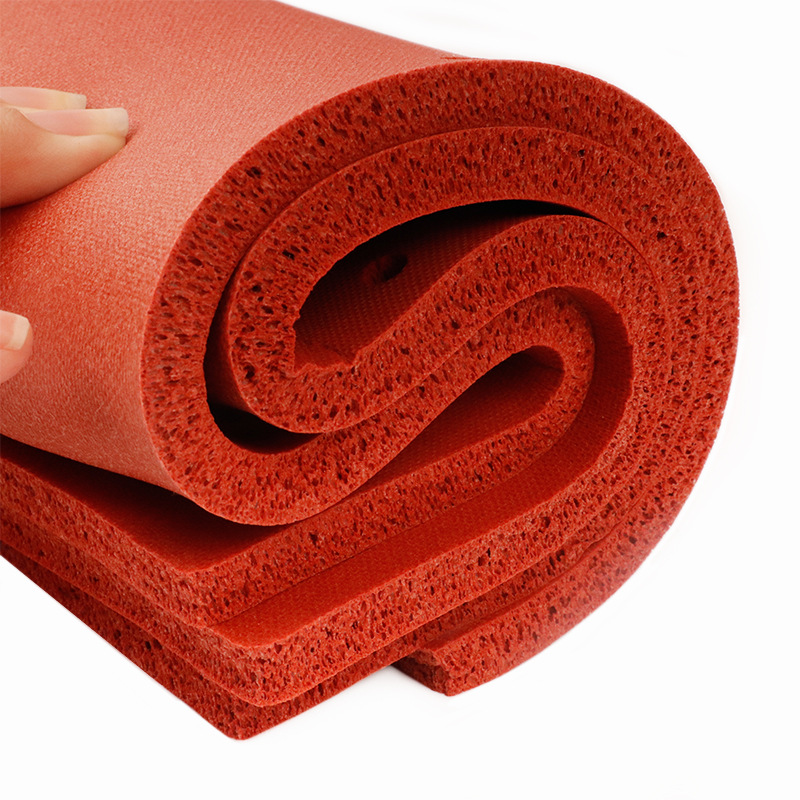
Silicone Sponge for High-Temperature Sealing and Industrial Applications
Discover the benefits, applications, and key properties of silicone sponge for high-temperature sealing, insulation, and industrial cushioning.
-
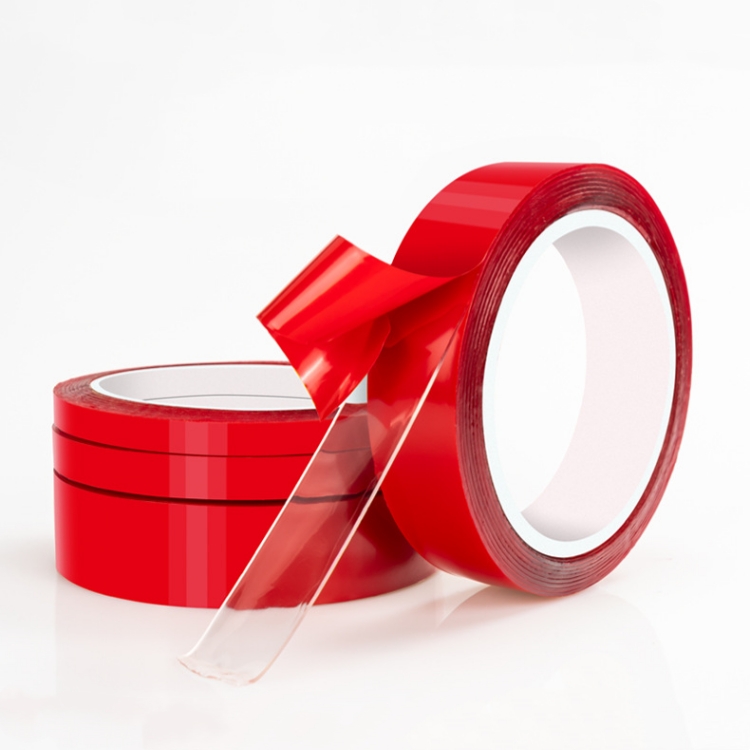
Why Acrylic Double-Sided Tape Has Become a Preferred Bonding Solution for Home and Industry?
Acrylic double-sided tape is widely used in home improvement, DIY projects, manufacturing, electronics, and commercial applications. Combining strong adhesion, clean appearance, and easy installation, it provides an efficient alternative to traditional fastening methods in many situations. This article explores its key advantages and common uses across different industries.
-
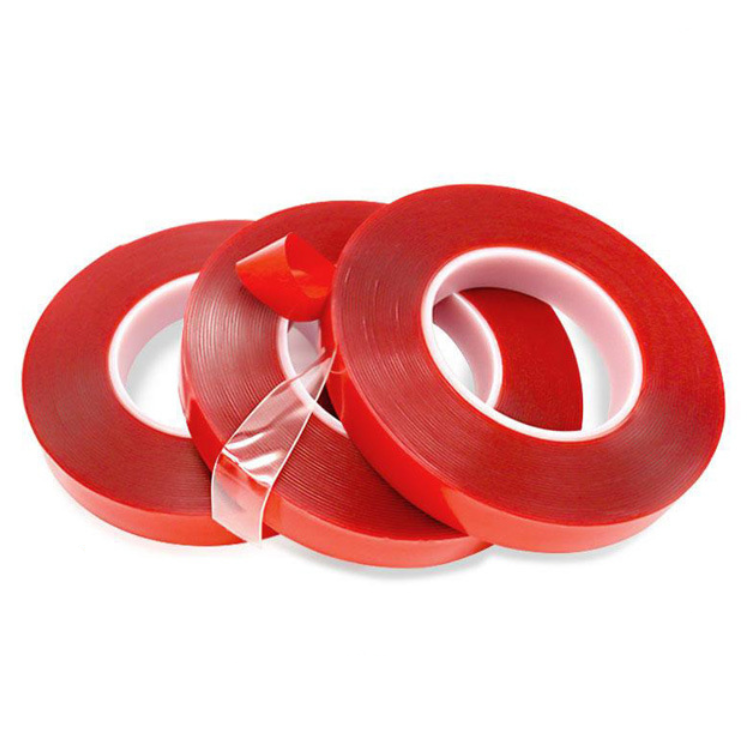
How Acrylic Foam Tape Supports Modern Signage and Advertising Display Installation
Acrylic foam tape has become an important mounting solution in the advertising and signage industry. With its strong bonding performance, clean appearance, and long-term durability, it is widely used for installing signs, display panels, decorative graphics, and promotional materials. This article explores its key advantages and common applications in advertising environments.
-
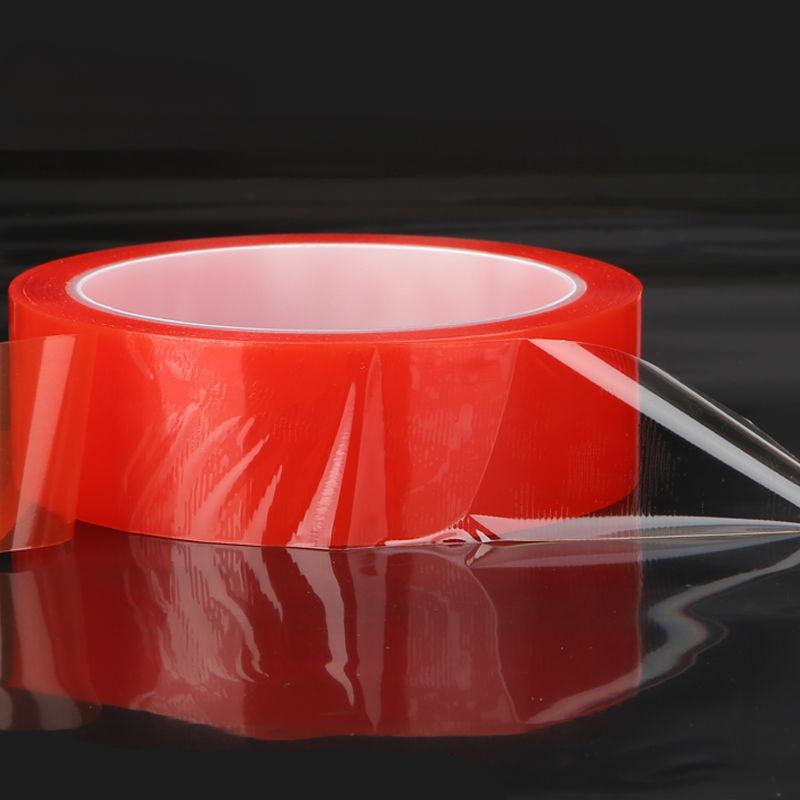
Understanding PET Double-Sided Tape: Features, Structure, and Industrial Applications
PET double-sided tape is a versatile bonding solution widely used in electronics, industrial assembly, and manufacturing processes. With its PET film carrier, acrylic adhesive system, and excellent dimensional stability, it offers reliable performance across a wide range of applications. This article explores its structure, key characteristics, and practical uses.
-
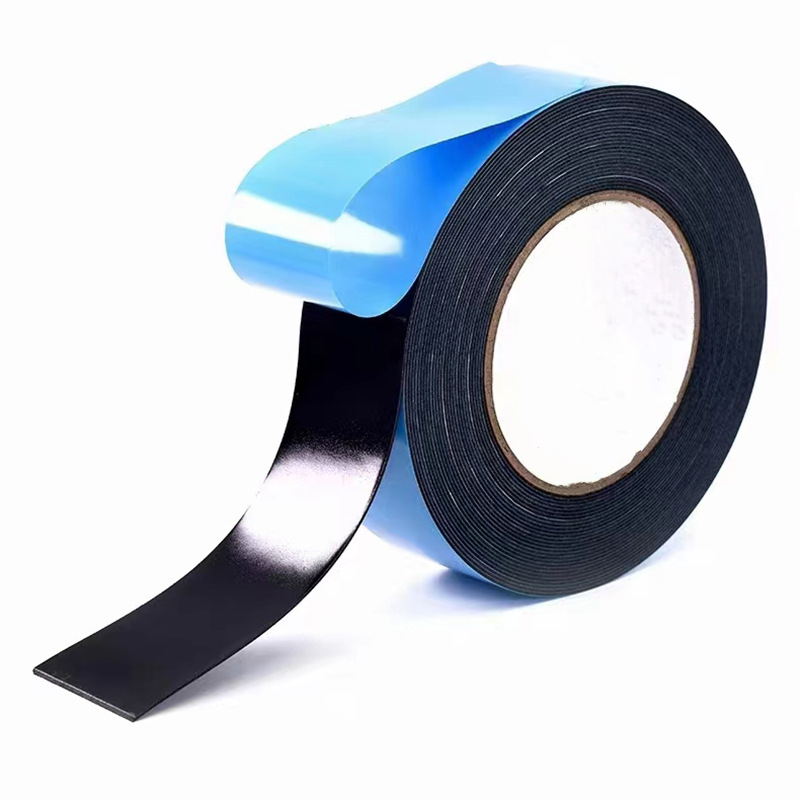
Technical Guide to PE Foam Tape: Adhesive Systems and Film Color Selection Explained
This article provides a professional overview of PE foam tape adhesive systems and film color options, explaining their performance differences, application scenarios, and selection principles. It helps engineers, buyers, and industrial users choose the right tape configuration based on functional and environmental requirements.
-
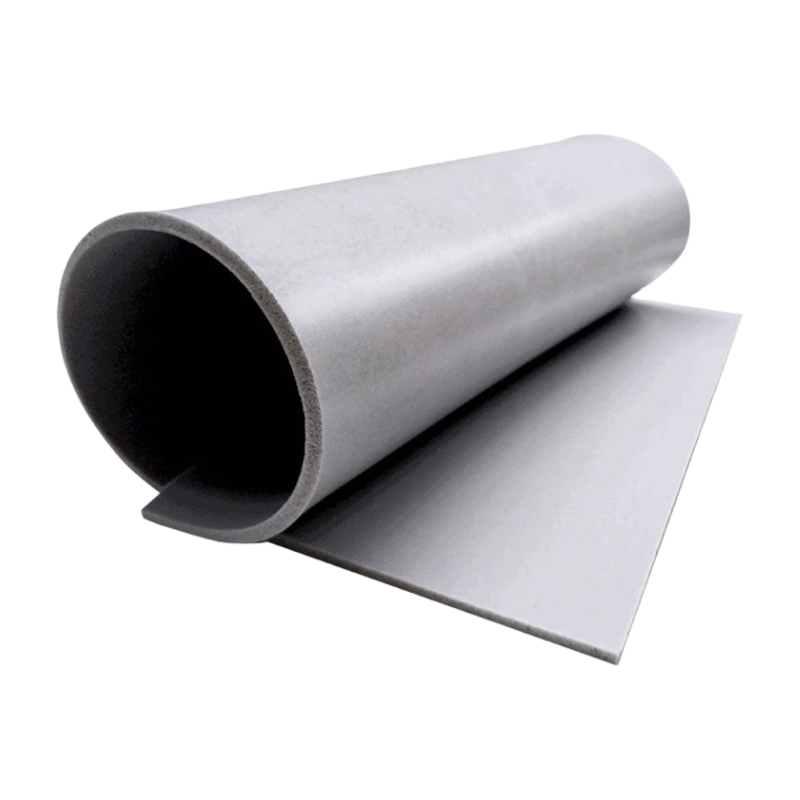
Solid Silicone vs. Silicone Foam: Choosing the Right Material for Industrial and Consumer Applications
Silicone materials are essential in modern manufacturing, but solid silicone and silicone foam serve different purposes. Learn how their structure, physical properties, and applications differ, and discover which material is ideal for sealing, cushioning, thermal insulation, and comfort.
-
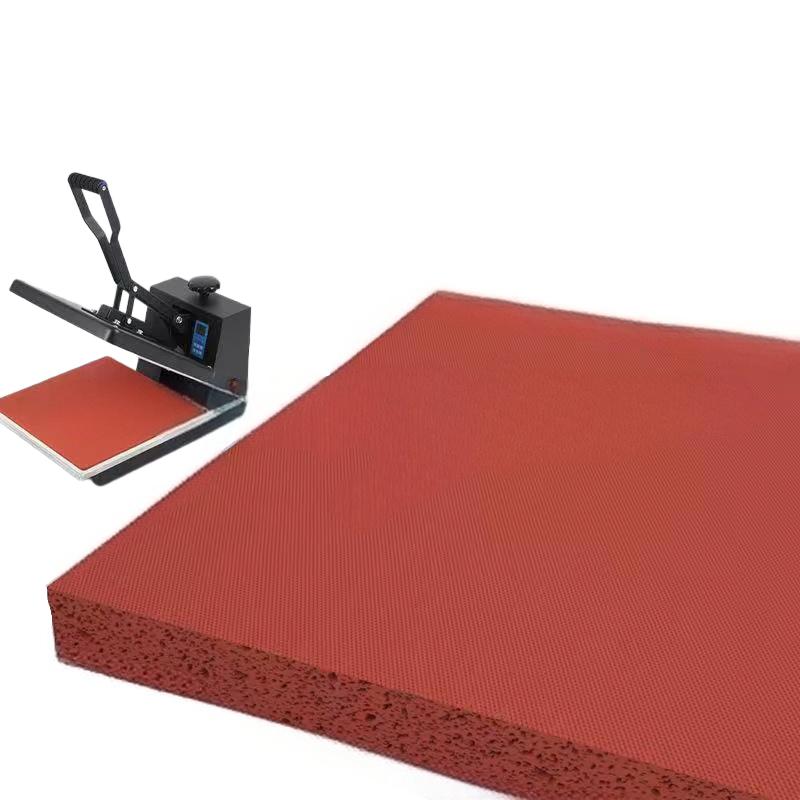
Silicone Foam Material Guide: Key Properties, Industrial Applications, and Future Trends
Silicone foam is a high-resilience, water-resistant, and thermally stable material that is increasingly recognized across multiple industries for its versatility and performance. Combining the elasticity and durability of silicone rubber with the lightweight structure of cellular foam, silicone foam offers excellent sealing, vibration isolation, thermal insulation, and electrical protection capabilities.
-
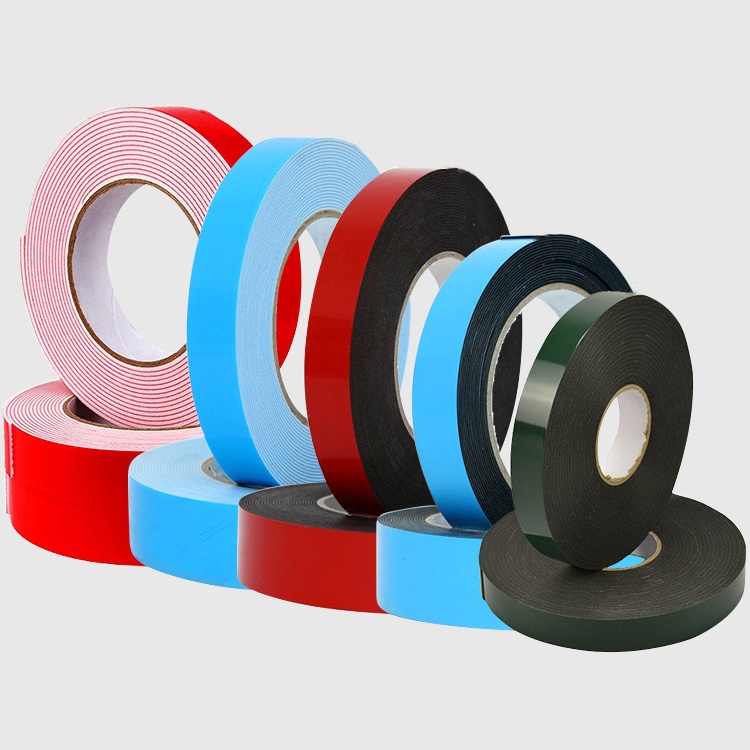
How PE Foam Expansion Ratio Affects the Performance of PE Foam Tapes?
As a supplier of PE foam tapes, we often get asked: why do some tapes feel softer, while others are firmer and more supportive? The answer lies in the expansion ratio (foaming multiple) of the PE foam substrate.PE foam (polyethylene foam) offers excellent cushioning, flexibility, and lightweight properties — all of which directly affect how a foam tape performs in real-world applications. Understanding expansion ratios helps customers choose the right tape for bonding, sealing, cushioning, or mounting.
-
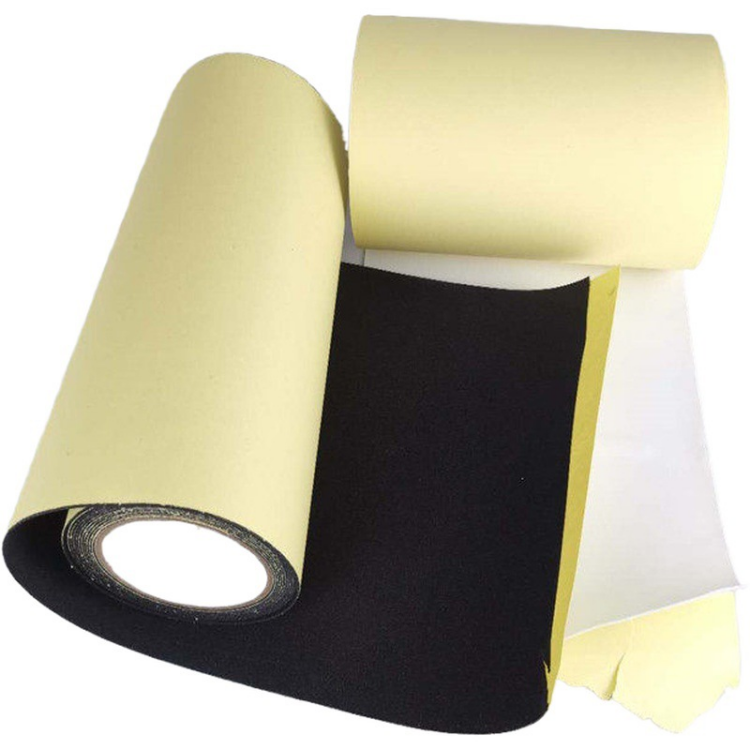
Dongguan Gmark New Material Technology Unveils Premium EVA Foam Tape for Global Markets
Dongguan Gmark New Material Technology, a leading innovator in advanced adhesive solutions, has launched its latest EVA Foam Tape designed to meet the growing demands of international customers.
-
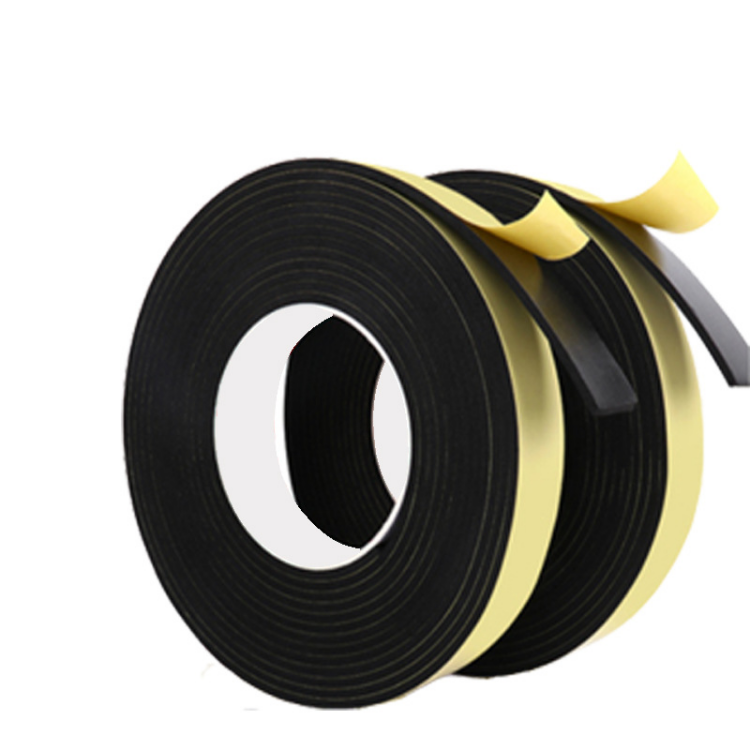
What is EVA Foam Tape? Why is it Becoming So Popular in 2026?
As global demand for high-performance adhesive materials continues to grow, EVA Foam Tape has become one of the most sought-after solutions across various industries.
-
Solid Silicone vs. Foam Silicone: Understanding the Differences and Their Ideal Applications
When choosing the right silicone material for your project, understanding the differences between Solid Silicone and Foam Silicone can make a significant impact on the performance, durability, and cost-effectiveness of your product. While both materials belong to the same family, they are uniquely suited for different applications based on their structure and properties. In this article, we’ll break down the key differences between solid silicone and foam silicone and explore their ideal uses in various industries.
-
Discover the Top 5 Benefits of Acrylic Foam Double-Sided Tape for Automotive and Industrial Use
Your Adhesive Expert – Acrylic Double-Sided Tape. With its long-lasting performance and exceptional durability, it’s a must-have for anyone looking for a high-quality adhesive in demanding applications.
-
Acrylic Foam Tape Thickness and Applications Guide
GMARK acrylic foam tape combines high adhesion, cushioning, sealing, and shock absorption. Choosing the right acrylic foam tape thickness is crucial for performance. Our guide covers ultra-thin to heavy-duty tapes for industrial, electronic, and construction applications.
-
PE Foam Tape: High-Performance Solution Across Multiple Industries
PE foam tape, made from polyethylene (PE) foam coated with high-performance adhesive, provides cushioning, sealing, bonding, and shock absorption. Widely used in electronics, industrial manufacturing, construction, automotive, and medical applications, it offers reliable performance, environmental resistance, and precise adhesion for diverse industrial needs.
-
GMARK PE Foam Tape Achieves IPX8 Waterproof Certification | High-Performance Adhesive Solution for Electronics
GMARK’s PE foam double-sided tape has successfully passed the IPX8 waterproof test, maintaining strong adhesion and sealing under water immersion. Ideal for smartphones, tablets, and wearables, offering reliable bonding and waterproof protection for electronic devices.
-
What is the Difference Between EVA and PE Tape
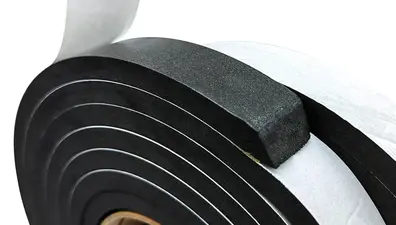
In today’s adhesive materials market, both EVA tape and PE tape are widely used across packaging, construction, automotive, and electronic industries. While the two tapes may appear similar, they are made from different base materials, offering unique properties and applications. Understanding their differences helps businesses and end-users select the right solution for specific needs.
-

Double Side Tape VS Acrylic Foam Tape: Which One Is Better for Modern Applications?
In the adhesive solutions market, both Double Side Tape and Acrylic Foam Tape have become essential tools across industries, from construction and automotive to electronics and daily household use. While both products serve as strong bonding options, their properties and applications reveal distinct advantages that make each suitable for different scenarios.
-
PVC Foam Tape vs Acrylic Foam Tape: Which One Is Right for Your Application?
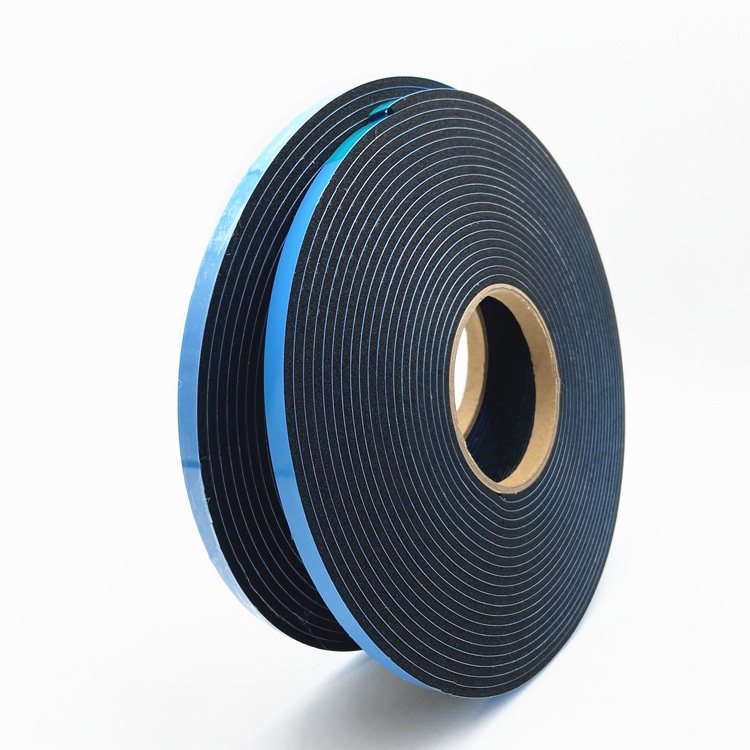
In today’s fast-paced manufacturing and construction industries, choosing the right adhesive material can make a major difference in product performance and durability. Among the most commonly used options are PVC foam tape and acrylic foam tape - but how do they compare?
-

Gmark New Material Emerges as a Leading EVA Foam Tape Supplier for Global Industries
Gmark New Material is a leading EVA foam tape supplier, offering high-performance, customizable tapes for industries like electronics, automotive, and construction. Known for quality, fast lead times, and eco-friendly materials, Gmark supports global distribution and innovation, helping companies achieve durable, reliable products.
-
EVA Foam Tape vs. PU Foam Tape: Which Performs Better for Outdoor Solar Panel Mounting?
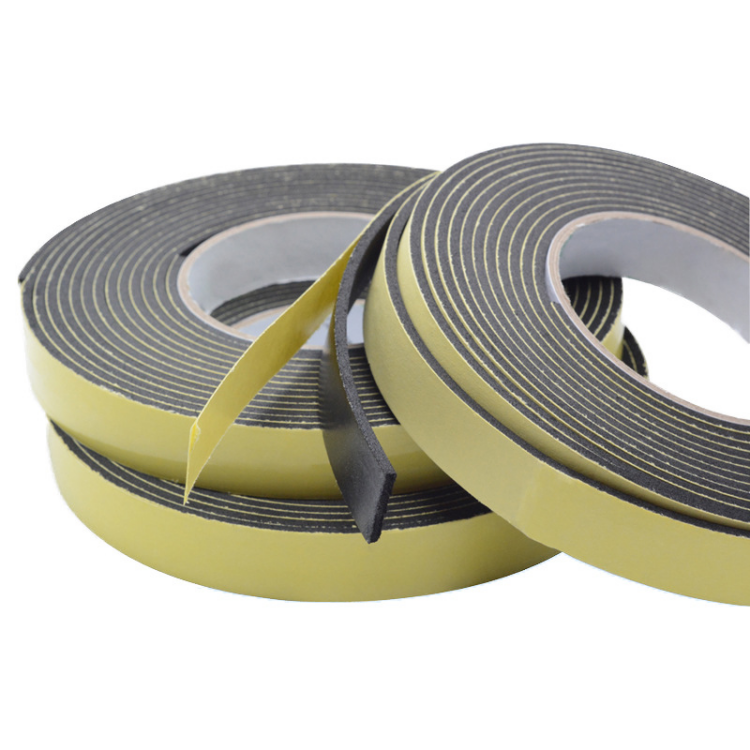
As solar energy continues to power the global shift toward clean energy, the materials used in mounting systems are evolving to meet the demands of harsh outdoor environments. Among them, foam tapes play a critical role in providing cushion, sealing, insulation, and vibration resistance between panels and mounting brackets. Two leading contenders—EVA (Ethylene Vinyl Acetate) foam tape and PU (Polyurethane) foam tape—are often compared for performance in solar panel applications. But which one holds up better under real-world outdoor conditions?
-
Why Are Smartphone Manufacturers Adopting EVA Foam Tape
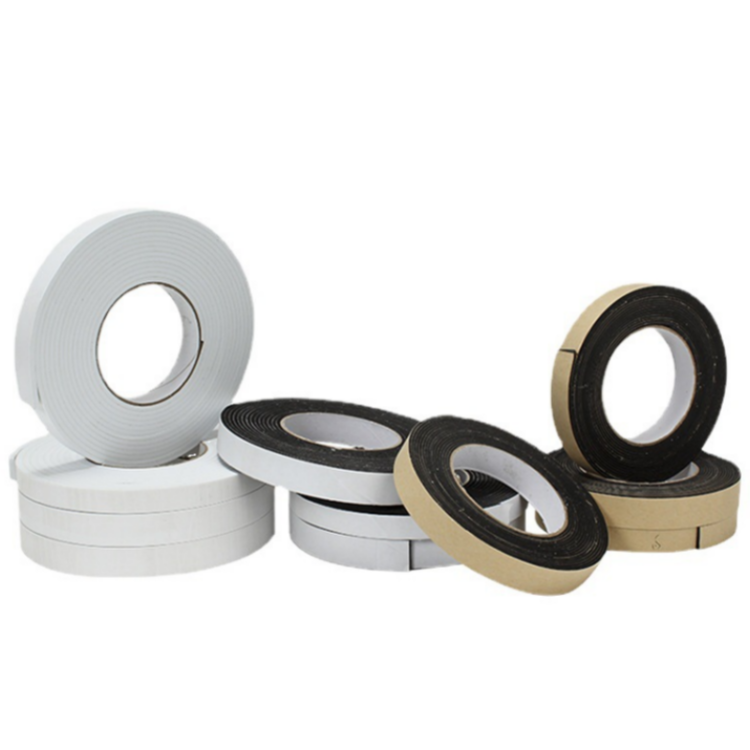
In the race to make smartphones thinner, lighter, and more durable, manufacturers are turning to a surprising material: EVA foam tape. While rarely seen by consumers, this high-performance material is playing a critical behind-the-scenes role in drop protection and internal cushioning.
-
How Does EVA Foam Tape Solve Vibration Damping in High-Speed Trains
As high-speed trains push the boundaries of modern transportation, engineers face a unique challenge: controlling vibration without compromising performance or safety. One of the unsung heroes behind the scenes is EVA foam tape—a lightweight yet highly effective material that's transforming vibration damping in rail systems.
-
What Is the Strongest double sided tape
When it comes to heavy-duty bonding, many people ask: What is the strongest double-sided tape available? The answer lies in a category known as VHB (Very High Bond) tape, particularly acrylic foam-based tapes, which outperform traditional glues and even rivets in many industrial applications.
-
What Is Double-Sided Body Tape Used For
Double-sided body tape has become an essential tool in both the fashion and entertainment industries. But what exactly is it used for? From red carpet looks to everyday wardrobe fixes, this discreet adhesive tape offers a reliable way to keep clothing in place—and confidence intact.
-
What Is the Trick to Double-Sided Tape
Double-sided tape may seem simple, but getting the most out of it takes more than just peeling and sticking. Whether used in industrial assembly, crafting, or home repairs, the real trick to double-sided tape lies in surface preparation, pressure, and patience.
-

Why Are Automotive Giants Switching to Acrylic Foam Tape for EV Battery Assembly
In the rapidly evolving electric vehicle (EV) landscape, every gram matters. As automakers push for greater range, safety, and manufacturing efficiency, a quiet revolution is underway inside the battery packs of today’s most advanced EVs. The unsung hero? Acrylic foam tape — a lightweight, high-performance adhesive solution now being adopted by automotive giants across the globe.
-
Is Acrylic Foam Tape Recyclable? Breaking Down the Sustainability Myths vs Reality
As sustainability becomes a key concern in modern manufacturing, many are asking: Is acrylic foam tape recyclable? The short answer is – not in the traditional sense. But that doesn’t mean it’s environmentally unfriendly. Let’s break down the myths vs. reality behind this high-performance adhesive technology.
-
How Does Acrylic Foam Tape Outperform Traditional Adhesives in Extreme Temperatures? (-40°C to 150°C Test Data)
In industries where bonding strength and temperature resistance are critical, acrylic foam tape is proving to be a game-changer. Recent lab tests show that acrylic foam tape not only maintains adhesion in extreme temperatures ranging from -40°C to 150°C, but also outperforms traditional liquid adhesives and mechanical fasteners in both performance and longevity.
-
Gmark New Material Launches Custom Size Silicone Sponge Foam Rubber Seal Strip for Precision Sealing Applications
Gmark New Material, a trusted name in advanced polymer solutions, has announced the release of its latest innovation: the Custom Size Silicone Sponge Foam Rubber Seal Strip. Designed for high-performance sealing across a range of industries, this product combines durability, flexibility, and customization to meet today’s most demanding engineering needs.
-

Acrylic Foam Tape: The powerful sticky revolution in multi -field applications
With the continuous progress of science and technology, the demand for high -performance materials in various industries is also rising. Acrylic Foam Tape (acrylic bubble tape), as an emerging and high -efficiency bonding material, has gradually become a must -have material for multiple industries with its excellent adhesion performance, temperature resistance and weather resistance.
-
Foam Tape's multiple use: an innovative solution
With the increasing demand for high -efficiency, convenience and multifunctional materials in modern industry and daily life, Foam Tape, as an innovative solution, is gradually entering the public vision. With its excellent sealing, shock absorption, and durability, it is widely used in many fields, which not only brings higher production efficiency to all walks of life, but also provides consumers with a more convenient experience experience.
-
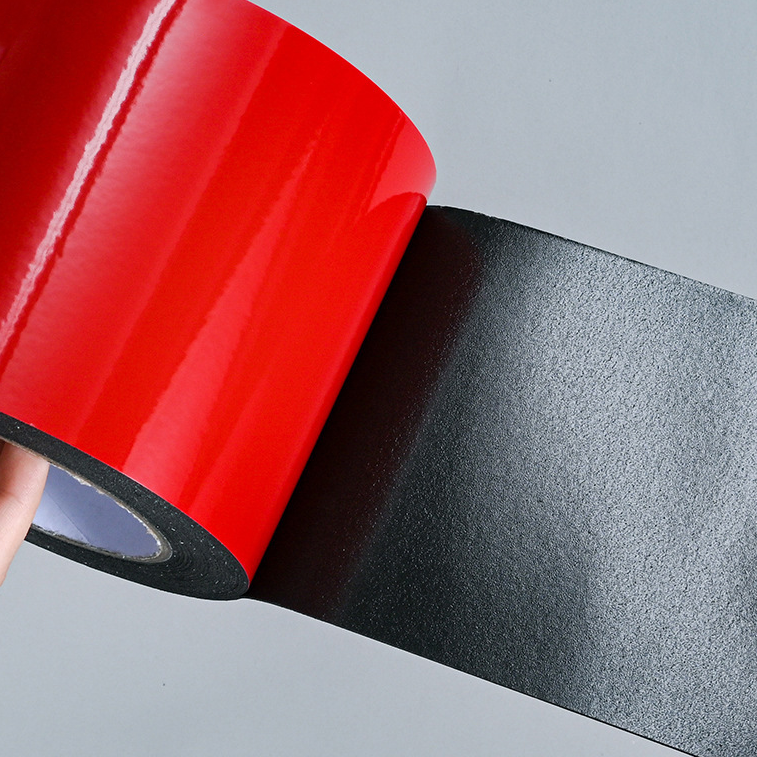
Do You Really Understand Foam Tape?
Foam tape is a tape with sealing and shock-absorbing functions. It is made of EVA, PVC or PE foam as the base material, with solvent-based (or hot-melt) pressure-sensitive adhesive coated on one or both sides and then covered with release paper. It has excellent sealing, compression deformation resistance, flame retardancy, wettability, etc.
-
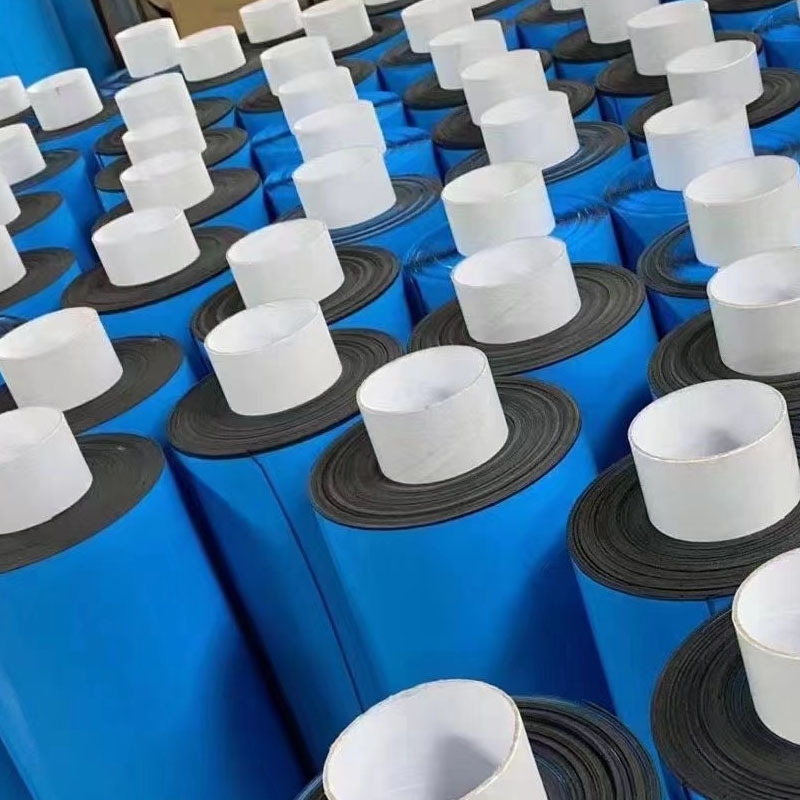
What are Tack, Adhesion, Cohesion, and Keying of Adhesive Tapes?
The practical adhesive properties of tack, adhesion, cohesion, and keying in pressure-sensitive adhesive products and their relationship are their most important and basic properties. When researching and manufacturing pressure-sensitive adhesives and various products, the requirements of these basic properties must be considered and met firs
-
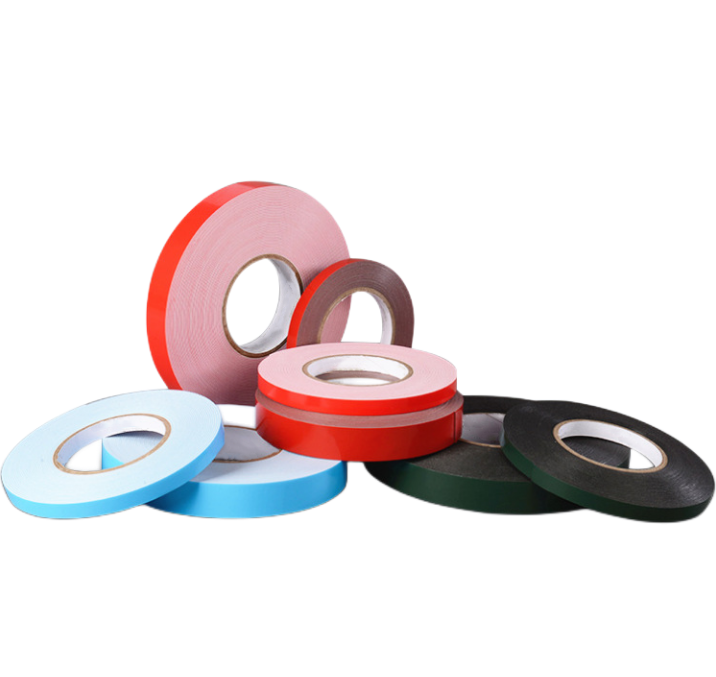
Research and Analysis on the Market Size and Future Development Trend of China's Double-Sided PE Foam Tape Industry
The market size of China's double-sided PE foam tape industry has maintained steady growth in recent years. In recent years, the market size of the double-sided PE foam tape industry has been showing a good development trend. From 2018 to 2019, its market size increased from 30.98 billion yuan to 34.18 billion yuan, an increase of 10.3%, and from 2020 to 2021, the market size increased from 34.18 billion yuan to 38.99 billion yuan, an increase of 14%. It is expected that the market size of the double-sided PE foam tape industry will continue to maintain a growth trend in 2024, reaching 44.53 billion yuan.
-
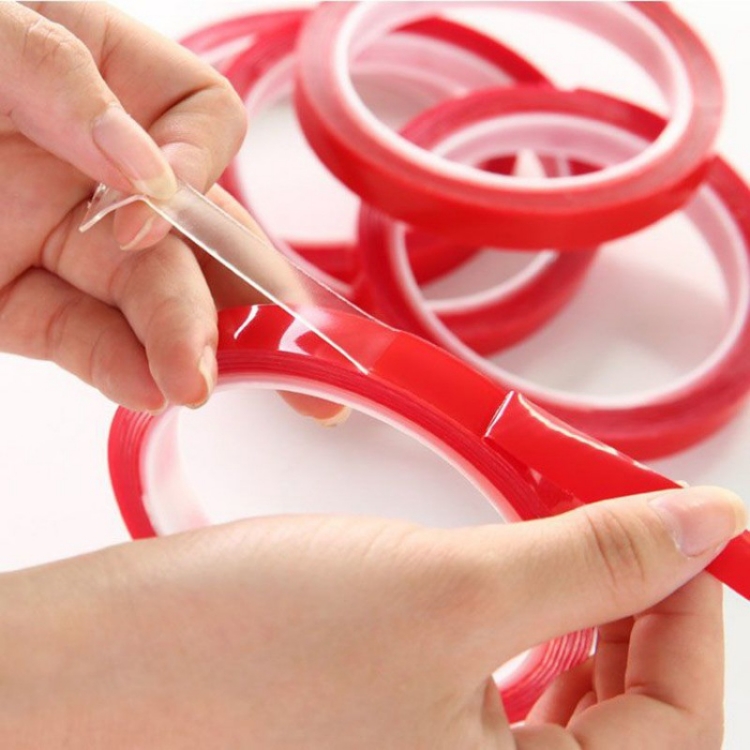
The Role And Application Field Of Acrylic Double-Sided Tapes Often Used In Daily Life
In our daily life, adhesive products are often used for packaging and sticking things, and double-sided tape is a kind of adhesive product often used in daily life. The more common double-sided tapes in daily life include EVA foam double-sided tape, PET foam double-sided tape, acrylic double-sided tape, etc. There are many types. Next, the editor of GMARK tape manufacturer will share with you the role and use of acrylic double-sided tape.
-
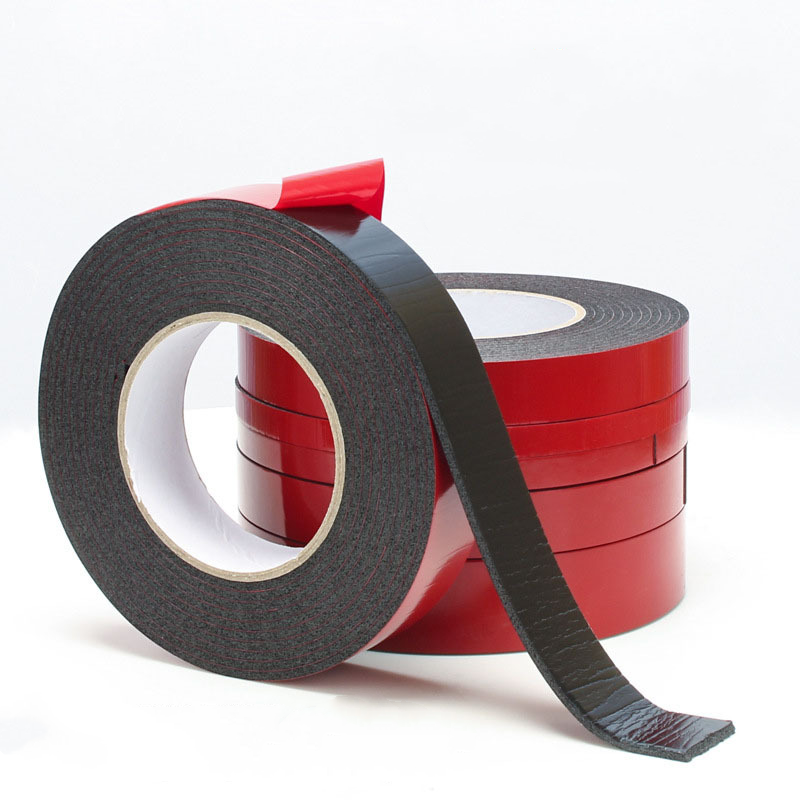
Learn About The Advantages And Operation Requirements Of Foam Tape In One Article
Foam tape has excellent sealing performance during use, which can effectively prevent its gas release and atomization to a certain extent. GMARK tape has excellent resistance to compression deformation, so the elasticity of the product is durable, which can effectively ensure that its accessories are protected from shock for a long time.
-
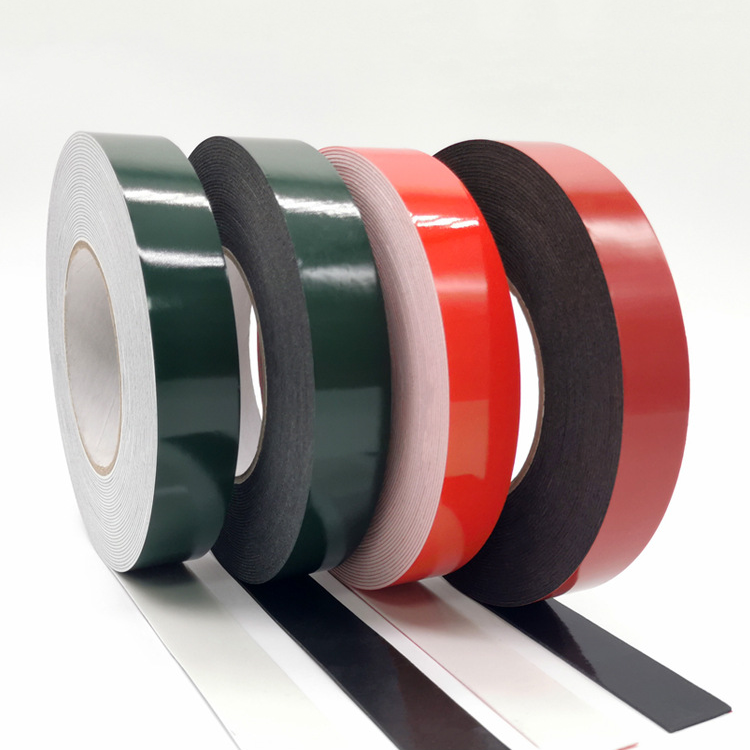
About The Characteristics And Applications Of PE Foam Tape And EVA Foam Tape
About foam tape, many people may not know much about this tape. In fact, the usage rate of foam tape is still relatively high, and it can be involved in basically all walks of life. Next, the editor of GMARK tape manufacturer will share with you some general information about foam tape, hoping to help you understand foam tape.
-
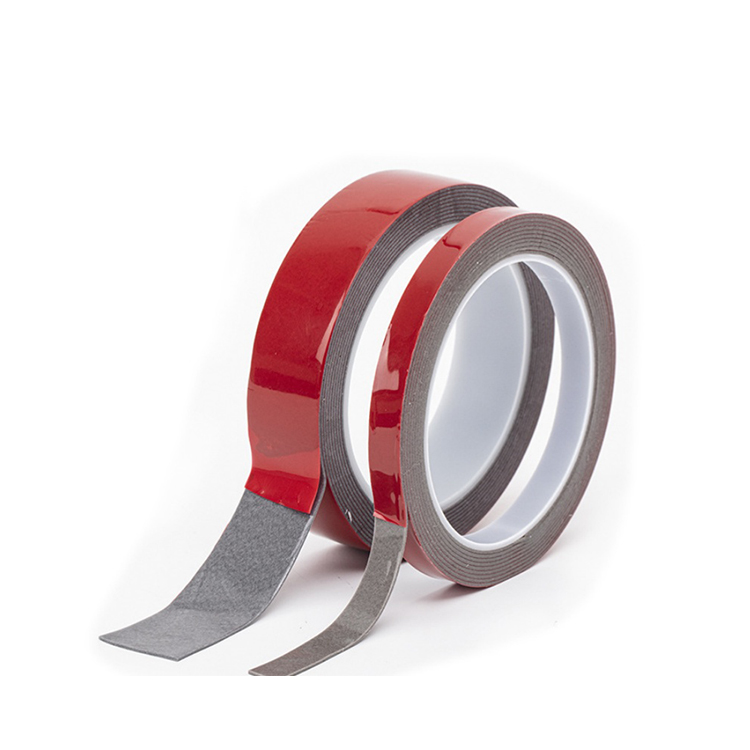
Heavy Duty Gray Mounting Adhesive Tape Leads New Market Trend
Recently, a revolutionary Heavy Duty Gray Mounting Adhesive Tape was launched on the market. Its excellent waterproof performance and strong high adhesion make it stand out from many products. This double-sided acrylic foam tape has quickly attracted widespread attention in the industry with its unique gray appearance and excellent performance.
-
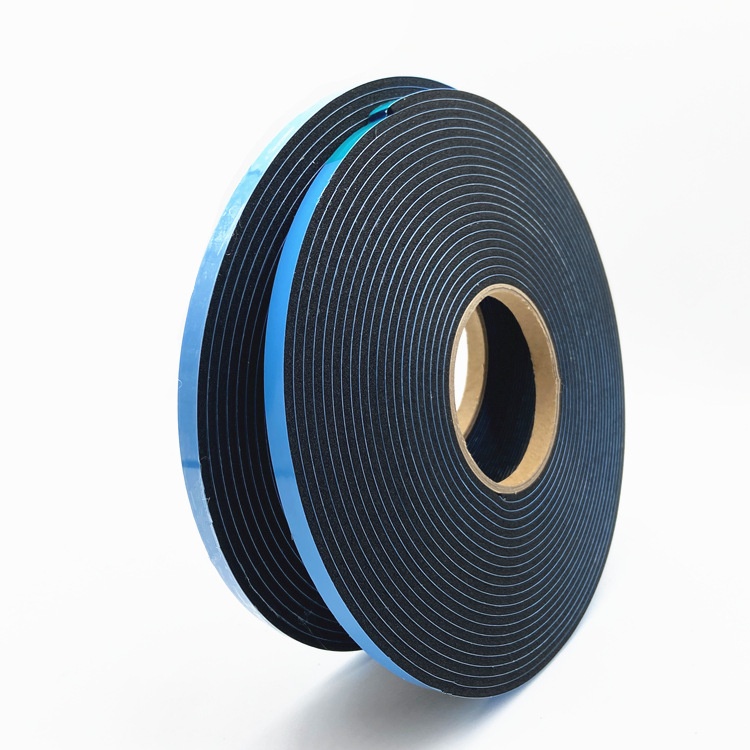
PVC Foam Tape VS EVA Foam Tape
PVC foam tape and EVA foam tape are widely used in industrial and daily applications, but they have significant differences in material properties, application scenarios and performance. The following is a detailed comparison of the two foam tapes.
-
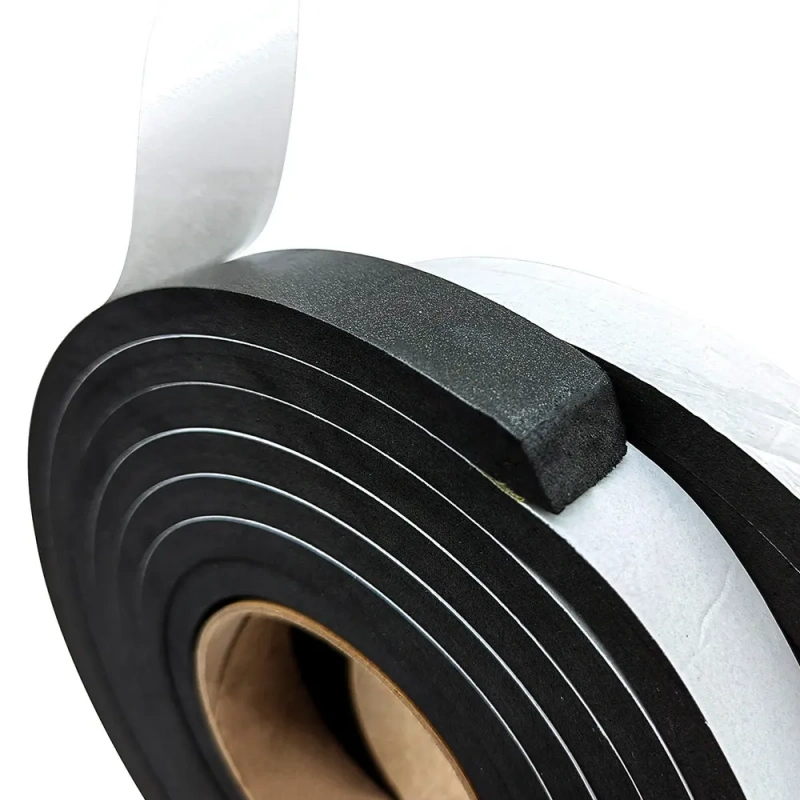
What is foam tape used for? Exploring its versatile applications
Foam tape, a seemingly humble yet incredibly versatile adhesive product, is gaining prominence across various industries for its wide range of applications. From construction to crafts, this innovative material is proving indispensable in both everyday tasks and specialized projects.
-
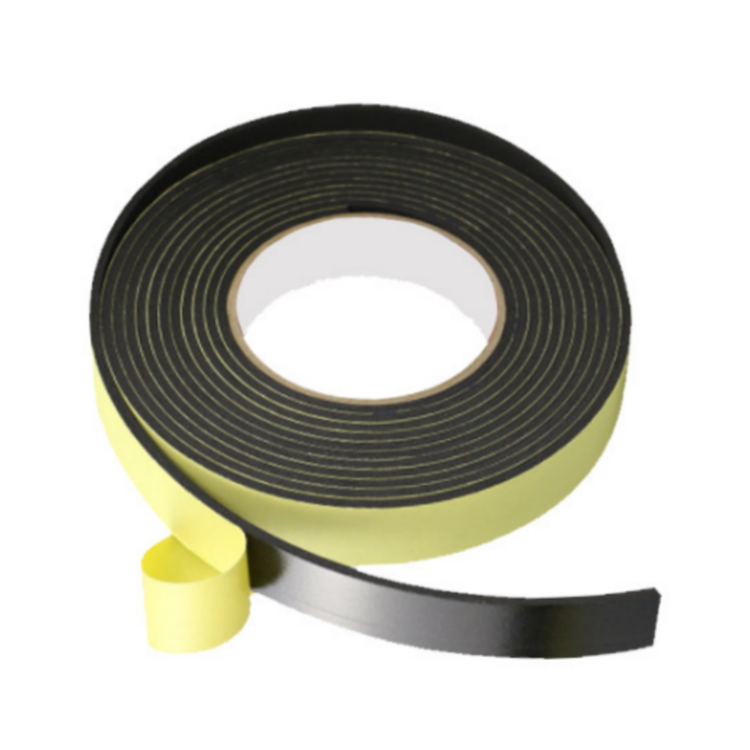
What is EVA Foam Tape: A Versatile Material for Various Applications
EVA foam tape, an increasingly popular material in various industries, is known for its versatility and durability. But what exactly is EVA foam tape, and what makes it so widely used?
-
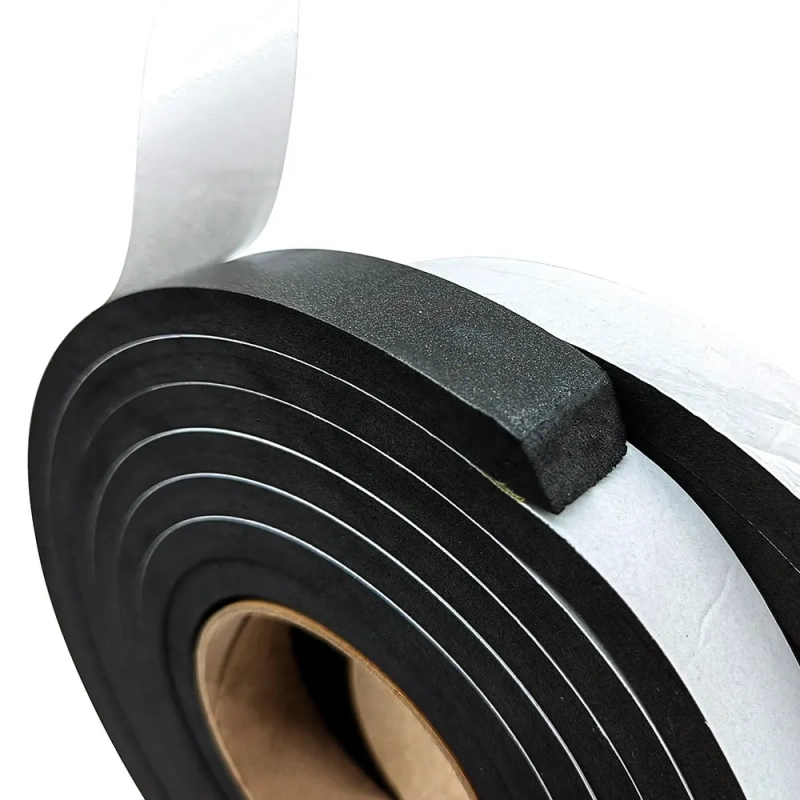
Advantages of EVA foam tape: Multifunctional applications help the development of various industries
With the increasing demand for high-performance adhesive materials in the industrial and consumer markets, EVA (ethylene-vinyl acetate) foam tape has become a highly regarded product due to its excellent performance and wide application prospects. This article will explore the main advantages of EVA foam tape and its application in various industries.
-
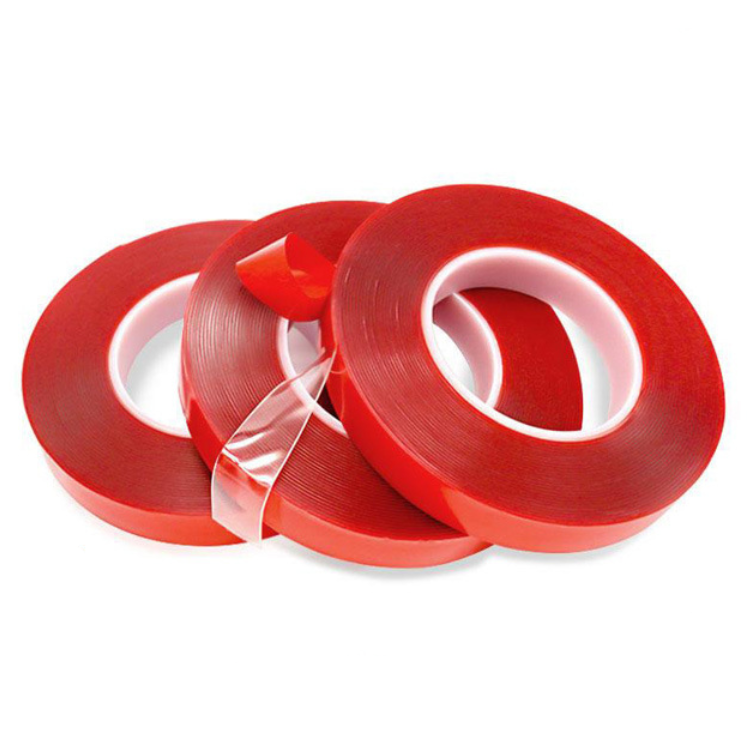
What is 3M Foam Tape Used For?
In the realm of adhesive solutions, 3M foam tape stands out as a versatile and essential tool for various applications across industries. Known for its strength, durability, and flexibility, 3M foam tape serves a multitude of purposes, making it a go-to choice for professionals and DIY enthusiasts alike.
-
Gmark New Material leads the acrylic foam tape market: dual drive of innovation and quality
In recent years, with the rapid development of the industrial and consumer electronics markets, the demand for acrylic foam tapes has also continued to grow. As a leading brand in the industry, Gmark New Material is leading the market trend in this field with its outstanding innovation capabilities and high-quality products.
-
Exploring PVC Foam Tape: A Multifunctional Adhesive Tool
PVC foam tape is a multifunctional adhesive material that has been widely used in various fields in recent years. But what exactly is PVC foam tape? Let us explore the characteristics and applications of this material.
-
What is Double-Sided Tape Called? Unveiling the Secret Behind this Household Essential
Double-sided tape, a ubiquitous item found in households, offices, and industries alike, serves as a versatile adhesive solution for a myriad of purposes. But have you ever wondered what this indispensable tool is formally called?
-

Gmark New Material launches innovative acrylic foam tape, leading new industry trends
Gmark New Material, as a leading company committed to innovation, today announced the launch of a new acrylic foam tape, injecting fresh vitality into the market. This foam tape not only has excellent bonding performance and weather resistance, but also has higher adaptability and convenience, which will bring customers a new use experience.
-
How is Double-Sided Tape Used? Unveiling the Versatile Adhesive's Multitude of Applications
In the world of adhesives, double-sided tape stands out as a versatile and indispensable tool used across various industries and households alike. From mounting pictures on walls to ensuring carpets stay in place, the uses of double-sided tape are as diverse as they are numerous.
-
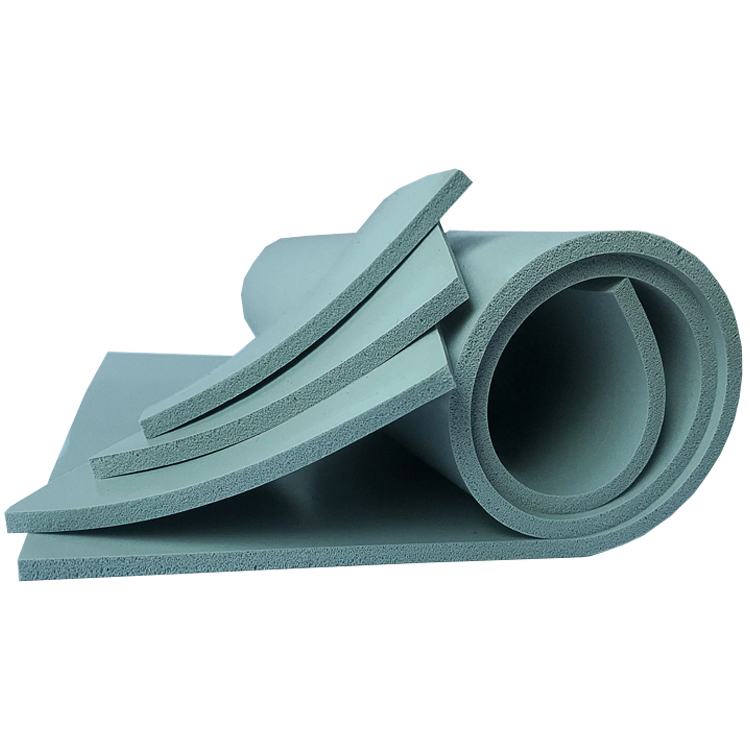
Do You Know These Characteristics About Silicone Foam?
Silicone foam is a medium density, silicone rubber closed foam product. The temperature range of the foamed silicone foam material is -60°C-200°C, which can be used for a long time and maintain its soft and elastic properties. It is environmentally friendly, non-toxic, and has excellent electrical properties.
-
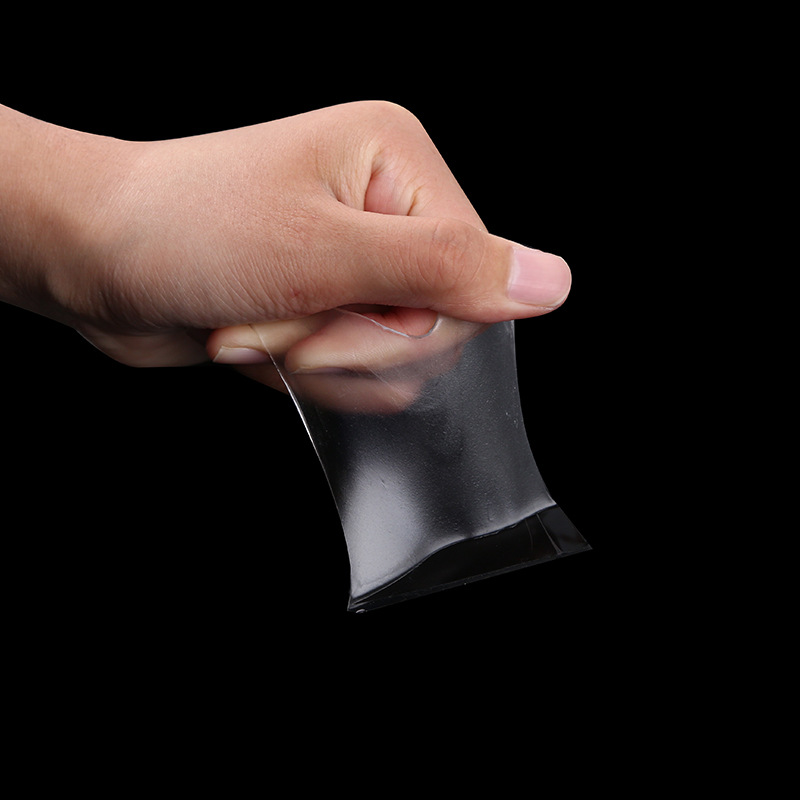
Glue Removal Tips For Transparent Tape
Whether it is in our life or in industrial production, transparent tape is often used. After the transparent tape is used, it is easy to leave residual glue on the surface of the object. If it is not cleaned in time, a black lake area will be formed, which is very ugly. Let's take a look at the tips for removing glue from transparent tape.


